How to make a kids chef hat and apron with our FREE pattern

Learn how to sew a typical chef’s hat and apron for your kids to wear in the kitchen
02/27/2023
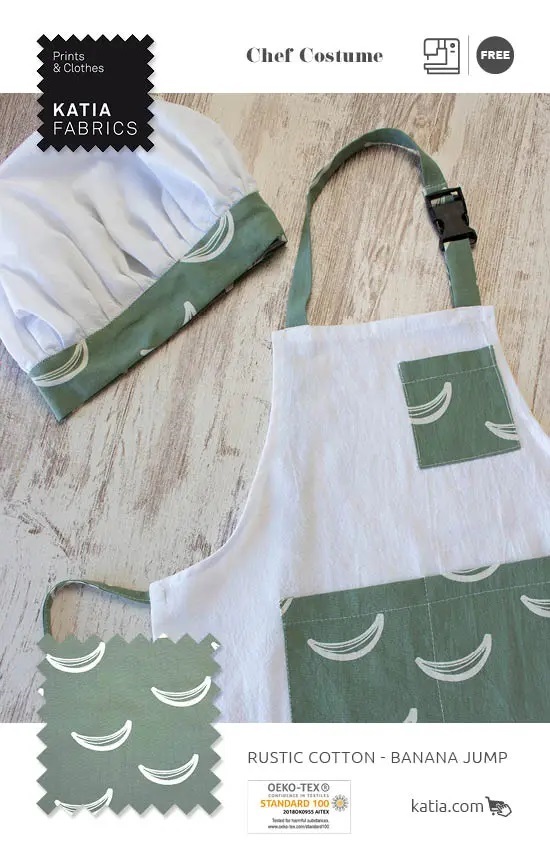
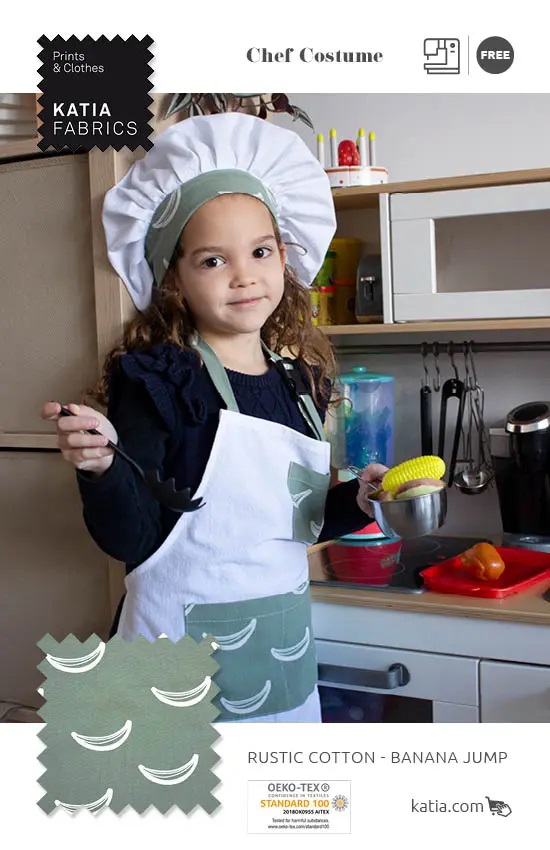
Are your little ones interested in cooking? Do they like to help you out in the kitchen? Then this is the perfect outfit for them. The apron is equipped with pockets and is a must-have for any kid who enjoys being hands-on and getting a bit mucky. And the (adjustable) traditional-style hat will be the pride and joy of your budding chef.
This costume is incredibly simple, quick and inexpensive to make, but is guaranteed to make them feel like a real professional. See how to sew both items using our free pattern, with easy-to-follow steps, and the video tutorial below.
Let’s get cooking!

The materials you will need to complete this project are:

- Sewing machine
- Thread that matches your main fabric
- 8 cm of Velcro
- Plastic buckle
- Scissors
- Pins
- Tape measure
- Stitch marker
- Thread trimmer
- Iron
For the apron:
- 80 cm of durable cotton fabric — we recommend Rustic Cotton Solid fabric.
- 40 cm of the same type of fabric, but with a different pattern/colour. The video features our banana print one.
For the hat:
Recommendations and useful information for your chef accessory sewing project
- The apron pattern is available for 3 to 12 year olds
- The chef’s hat is for 3 to 8 years but it can be easily adjusted to fit any size
- It’s important to wash and iron your fabric before working with it
- All pattern pieces include a 1 cm seam allowance, unless stated otherwise
- Follow this guide: How to trace and cut patterns
Step-by-step instructions to make a chef costume

1. How to make the apron
- Download the free apron pattern here
- Look for the instructions in your language and read through them carefully
- Cut out the paper pattern pieces, lay them on your fabric, and cut out the fabric pieces
Make the front pockets:
- Iron and sew the top hems
- Iron (inwards) the side seams and the bottom hem of both pockets and fasten in place
- Sew the pockets to the apron front, backstitching around the edge
- Divide the bottom, larger pocket by backstitching vertically down the middle
Make the neck strap and ties:
- Fold the neck straps in half lengthways, with the right sides facing each other
- Backstitch along the long side and leave the ends unsewn
- Turn the strap right side out
- Fold the waist straps in four parts, iron and stitch along the long side
The underarms:
- Make a double hem around the armholes of the apron
- Fasten the side of the hem with backstitch
- Make a double folded hem on the sides and the bottom of the hem.
- Fasten the side of the hem with backstitch.
- Sew the waist straps to the sides of the apron.
- Pass the short end of the top strap through the buckle. Join the ends of the strap with backstitch.
- Hem the top of the apron. Sew the neck straps.
And done!
2. How to make the hat
Make the top of the hat:
- Watch the video tutorial step by step to get a good idea of how the hat comes together (begin at 14 mins 14 seconds)
- Cut a 50 cm x 50 cm square
- Fold it in half and then in half again (to make a smaller square) and pin in place
- Use a tape measure to mark a quarter circle from bottom right to bottom left
- Cut along this outline (this is the hop of the hat)
- From the top right and bottom left corner measure 1.5 and make a mark
- Then, along the edge of the circle outline make marks 3 cm apart from one another (this will be where the folds in the hat are)
- Make small cuts at each of those marks to make little notches
- Open the fabric up
- Measure 10 cm vertically from the bottom of the circle and cut along this line
- Fold along the notches to make the folds of the hat and pin as you go
- Sew along these folds along the whole circumference
Make the hem:
- Cut a strip that is 12 cm wide by 62 cm long
- Fold it in half with right sides facing each other and sew the two ends, starting 1 cm from the bottom edge. Do not start sewing at the edge
- Turn the strip inside out
- Gather the top of the hat to together to fit the length of the strap
- From the opening, face the top of the hat with this strip you’ve just made, pin into place and sew with straight stitch
- Turn inside out and push the seam inwards. Work a straight stitch along the right side of the join between the hat pieces
- Sew or glue Velcro to be able to adjust the size of the hat.

Now your little chef is ready for their next kitchen challenge!

