Rug tufting for beginners: Make your own works of art
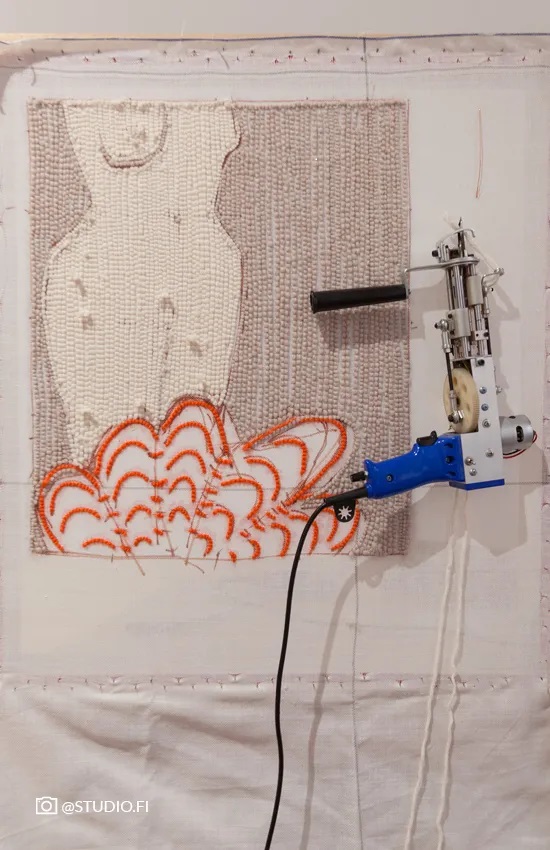
Learn the popular textile technique of rug tufting to create colourful rugs and wall hangings
01/30/2023

What is tufting?
Tufting is a textile technique that involves ‘punching’ yarn into fabric canvas creating loops. To do that you use a tufting gun that ‘punches’ or ‘shoots’ the yarn through the canvas.
Why is it so popular?
Of course the first reason is the end result! Tufting creates incredible texture and dimension. The second reason is because it’s so easy to do. The tufting gun does almost all of the heavy lifting and it doesn’t take long for your final piece to come together.
What you need
The right kind of yarn
You should use medium weight yarn, and it’s recommended — for the best look and feel — that you choose yarn in a range of different colours that are soft and durable (it’s a rug, afterall). Here are some of our suggestions…
100% acrylic yarn
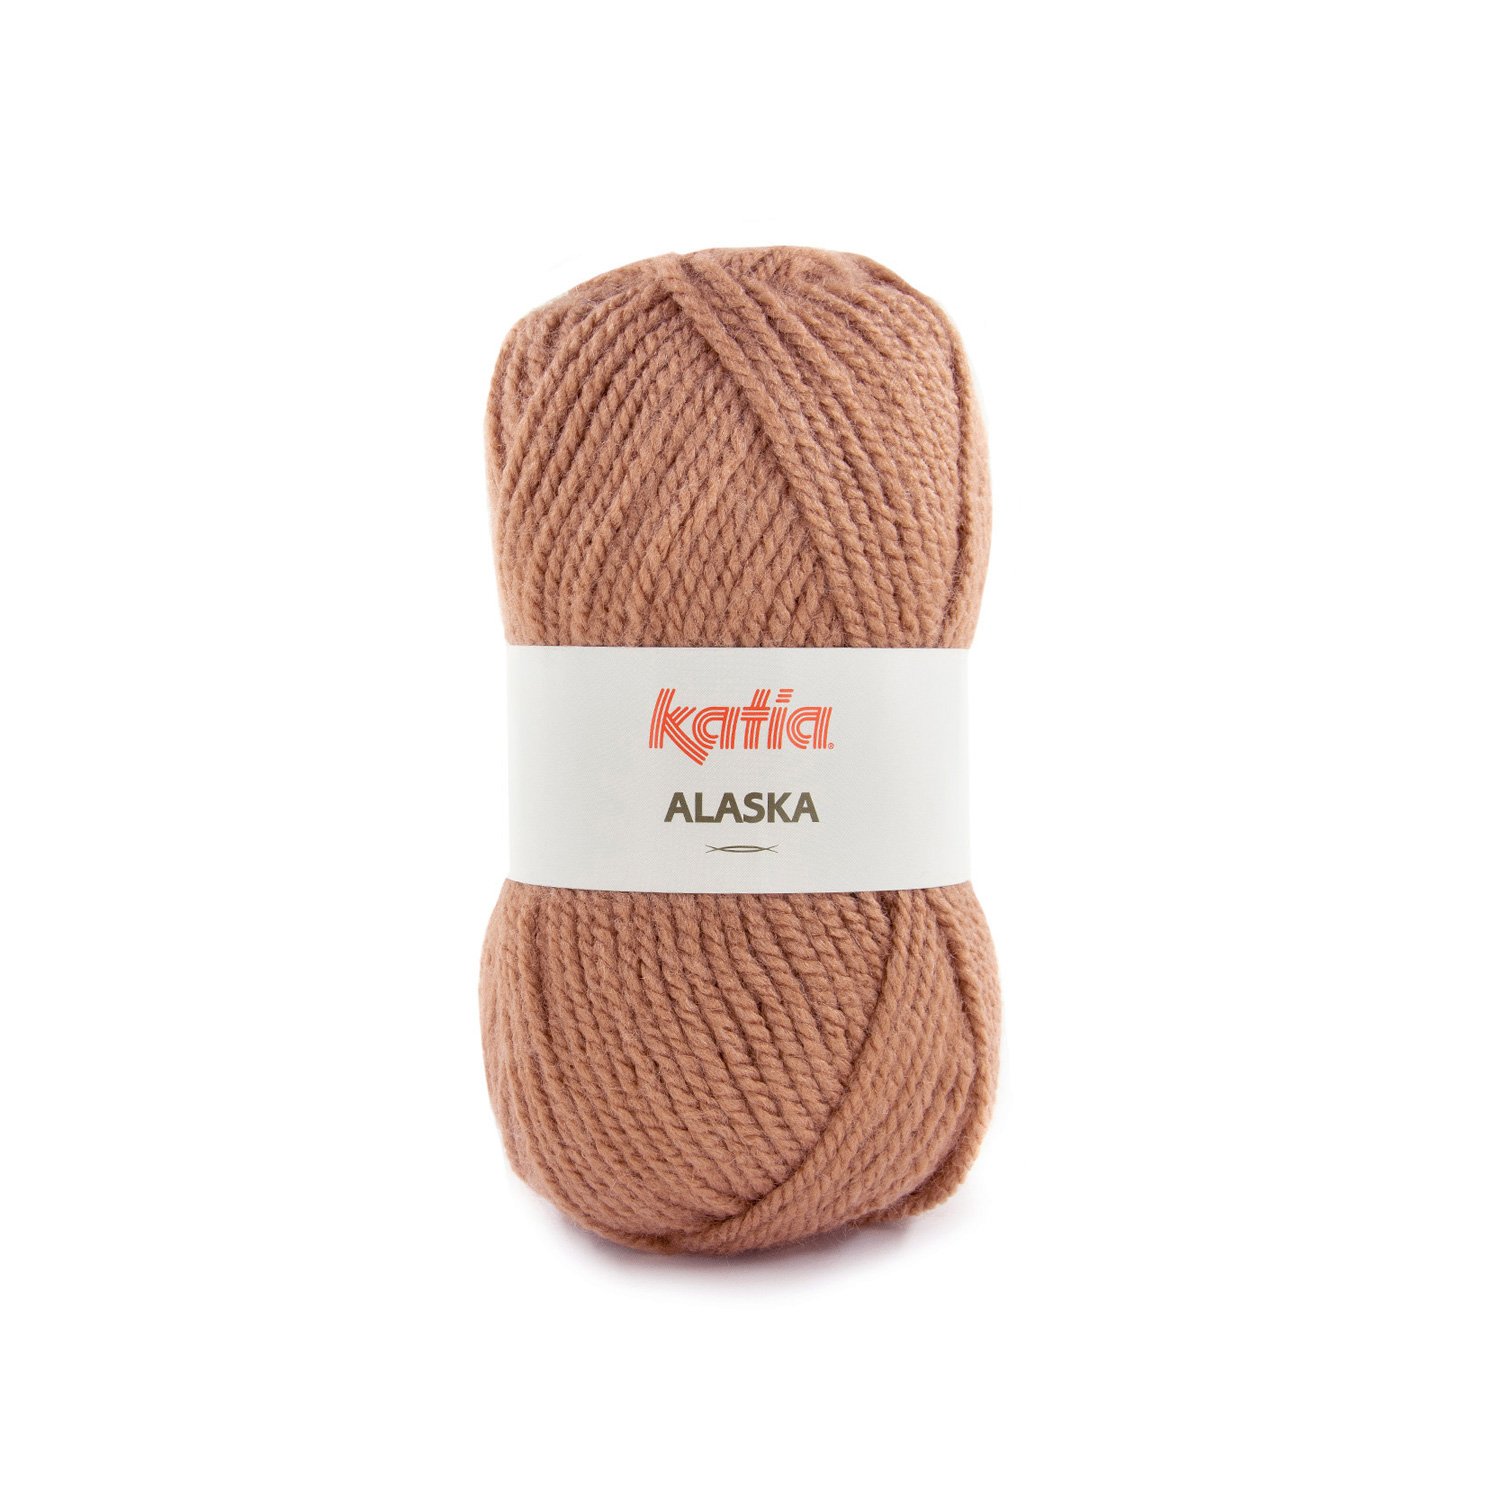
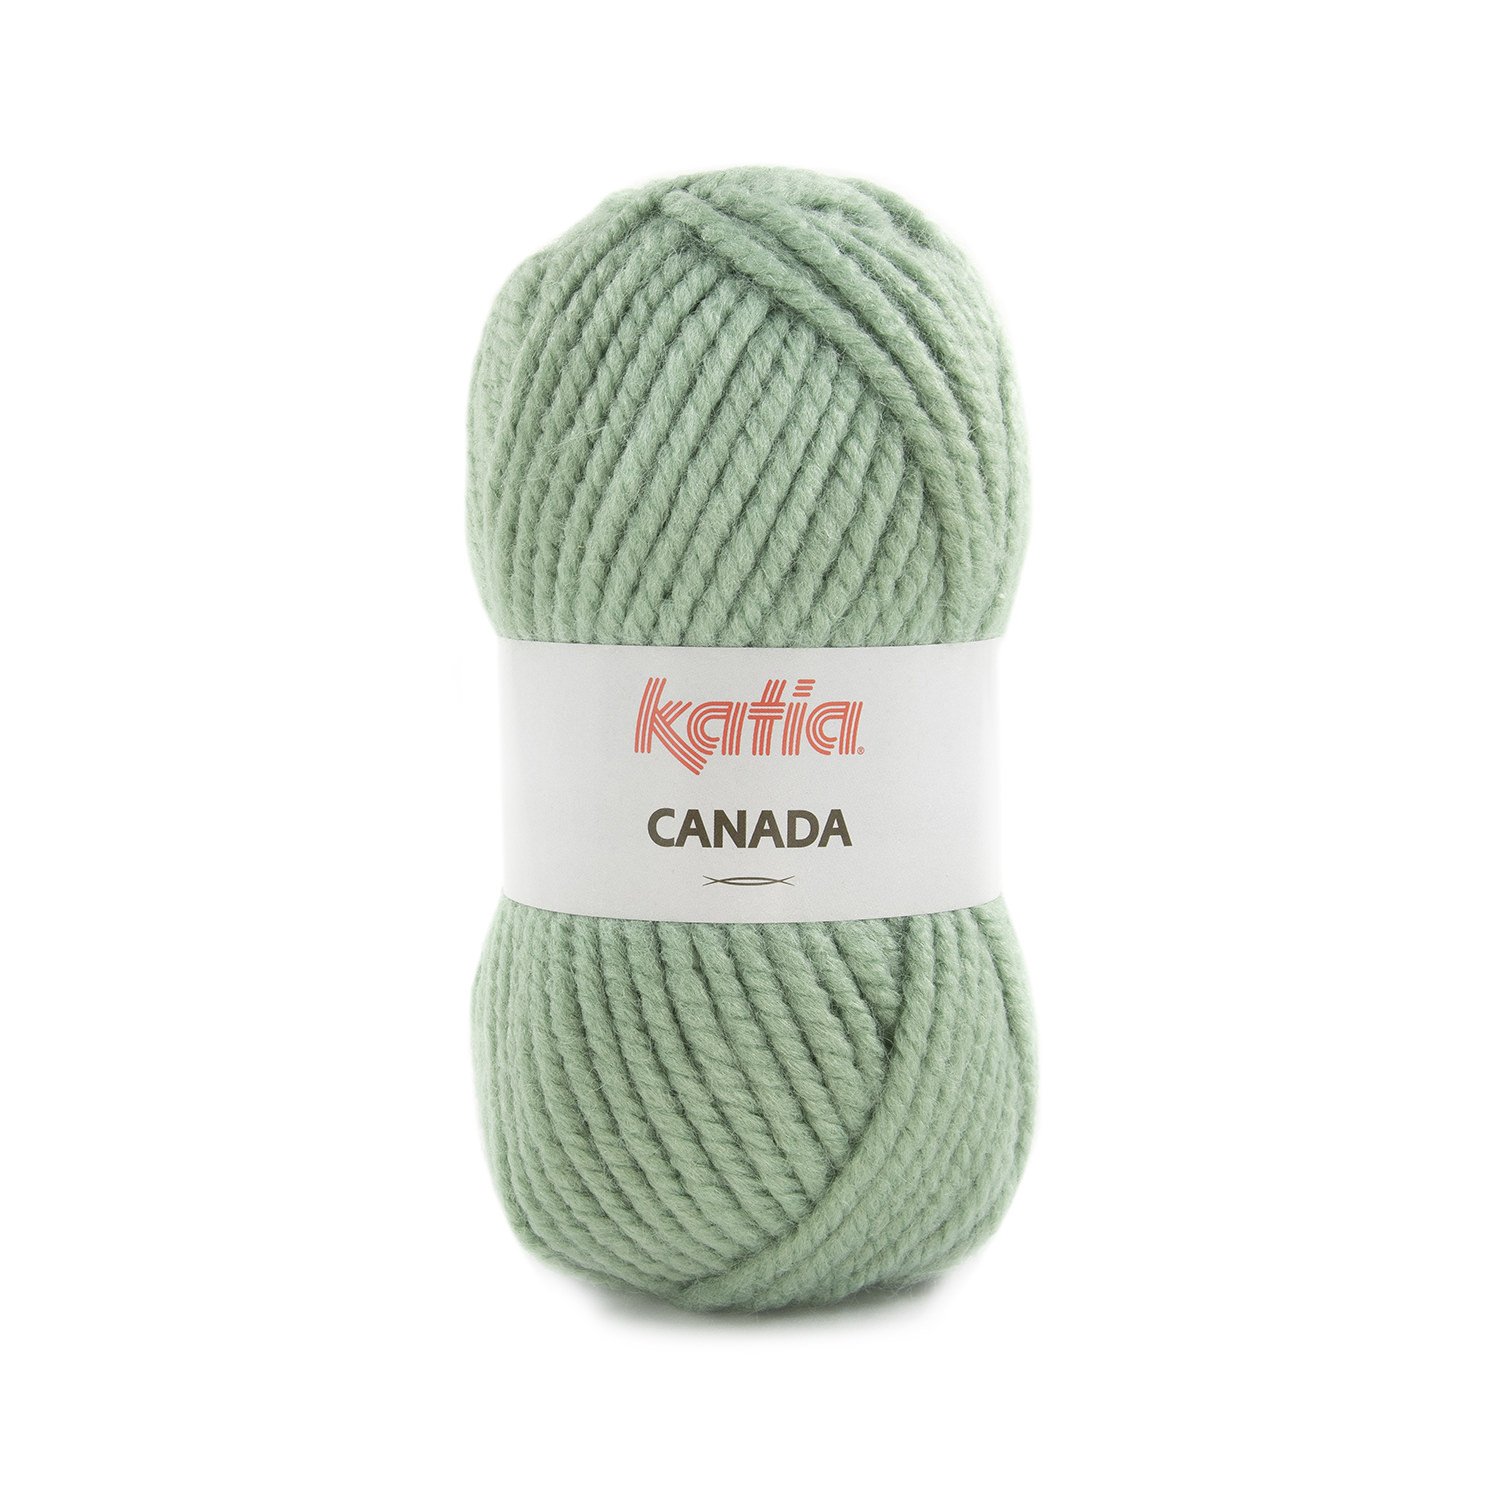
As you learn the technique of tufting we recommend using 100% acrylic yarns like Katia Alaska (available in 50 colours) and Katia Canada (available in 34 colours. This is because both of these synthetic yarns are long-lasting, flexible, and soft. These are especially good for decorative rugs.
Acrylic-wool blend
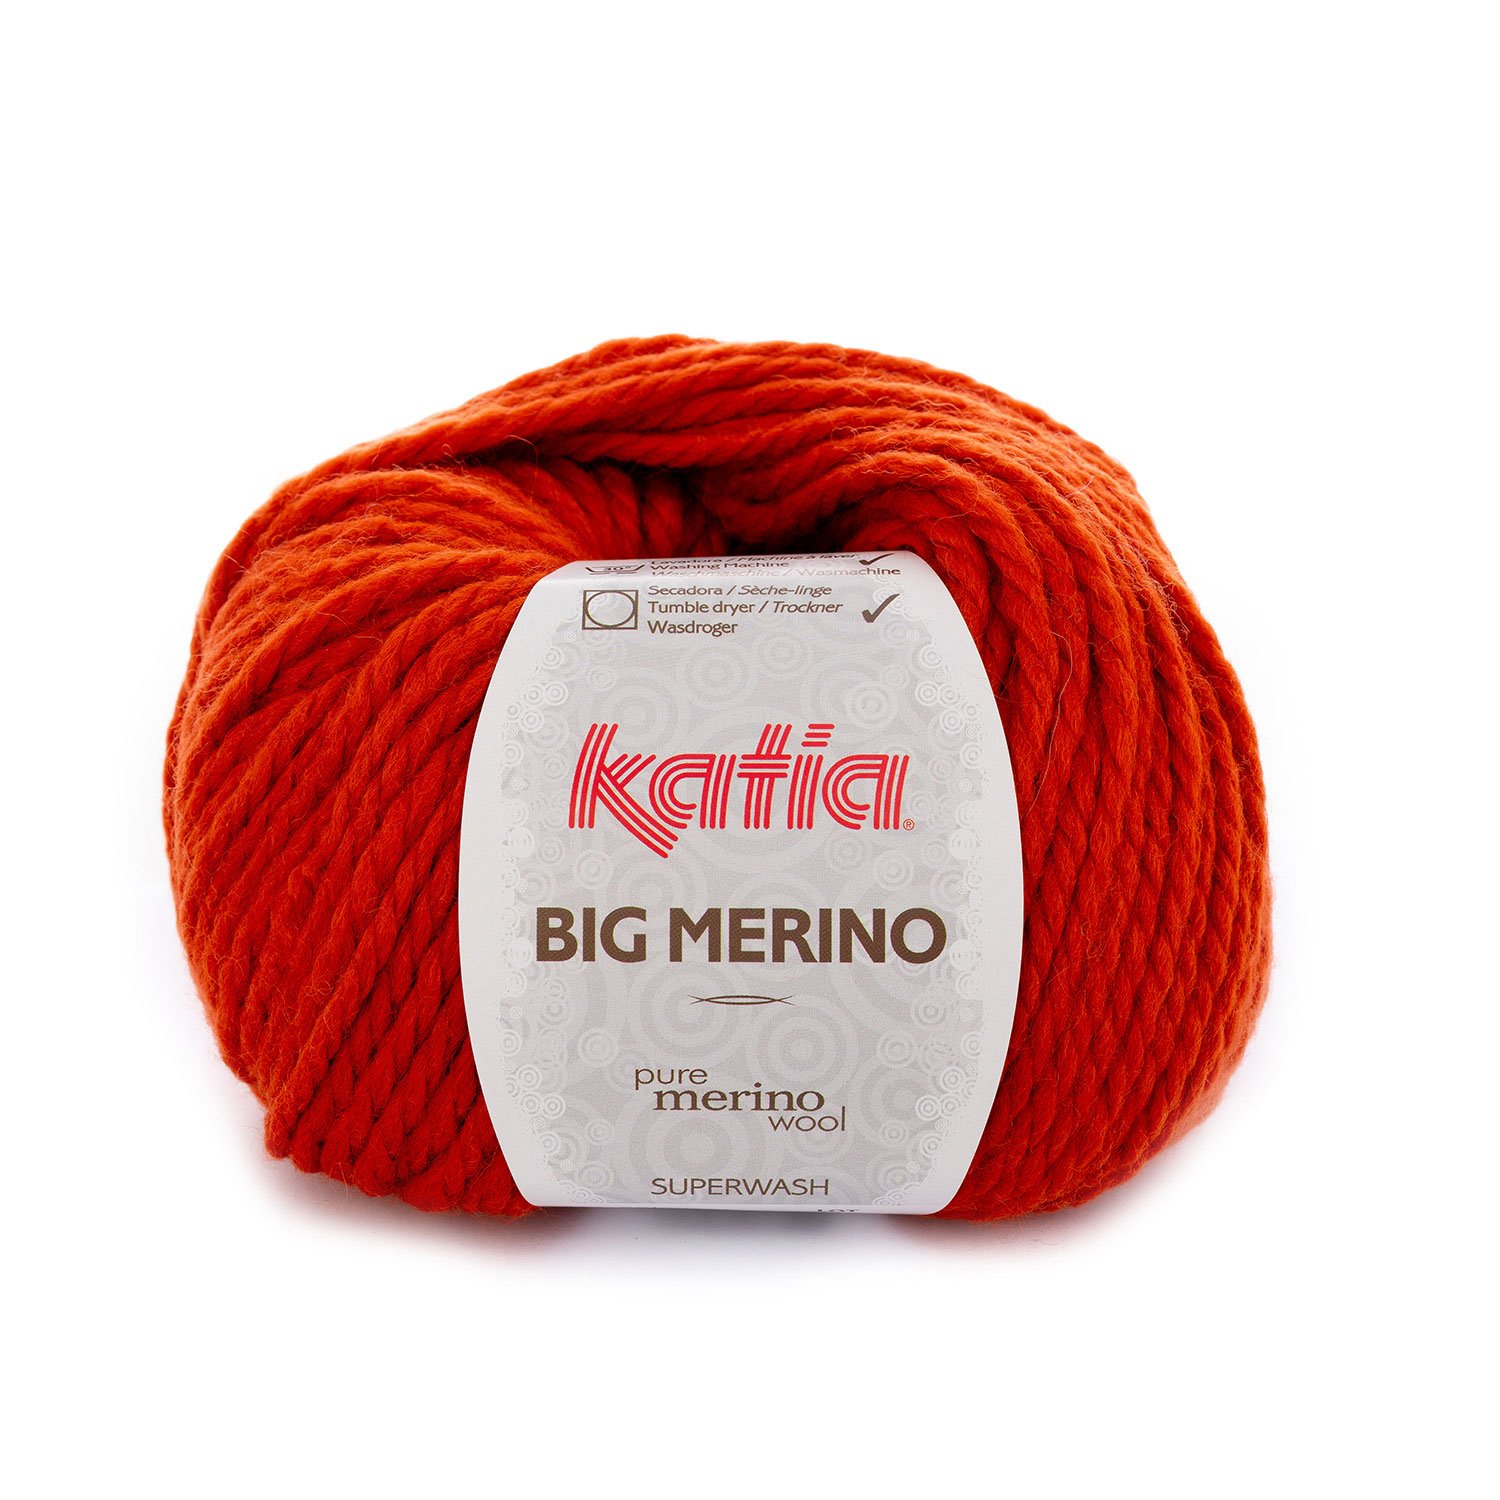
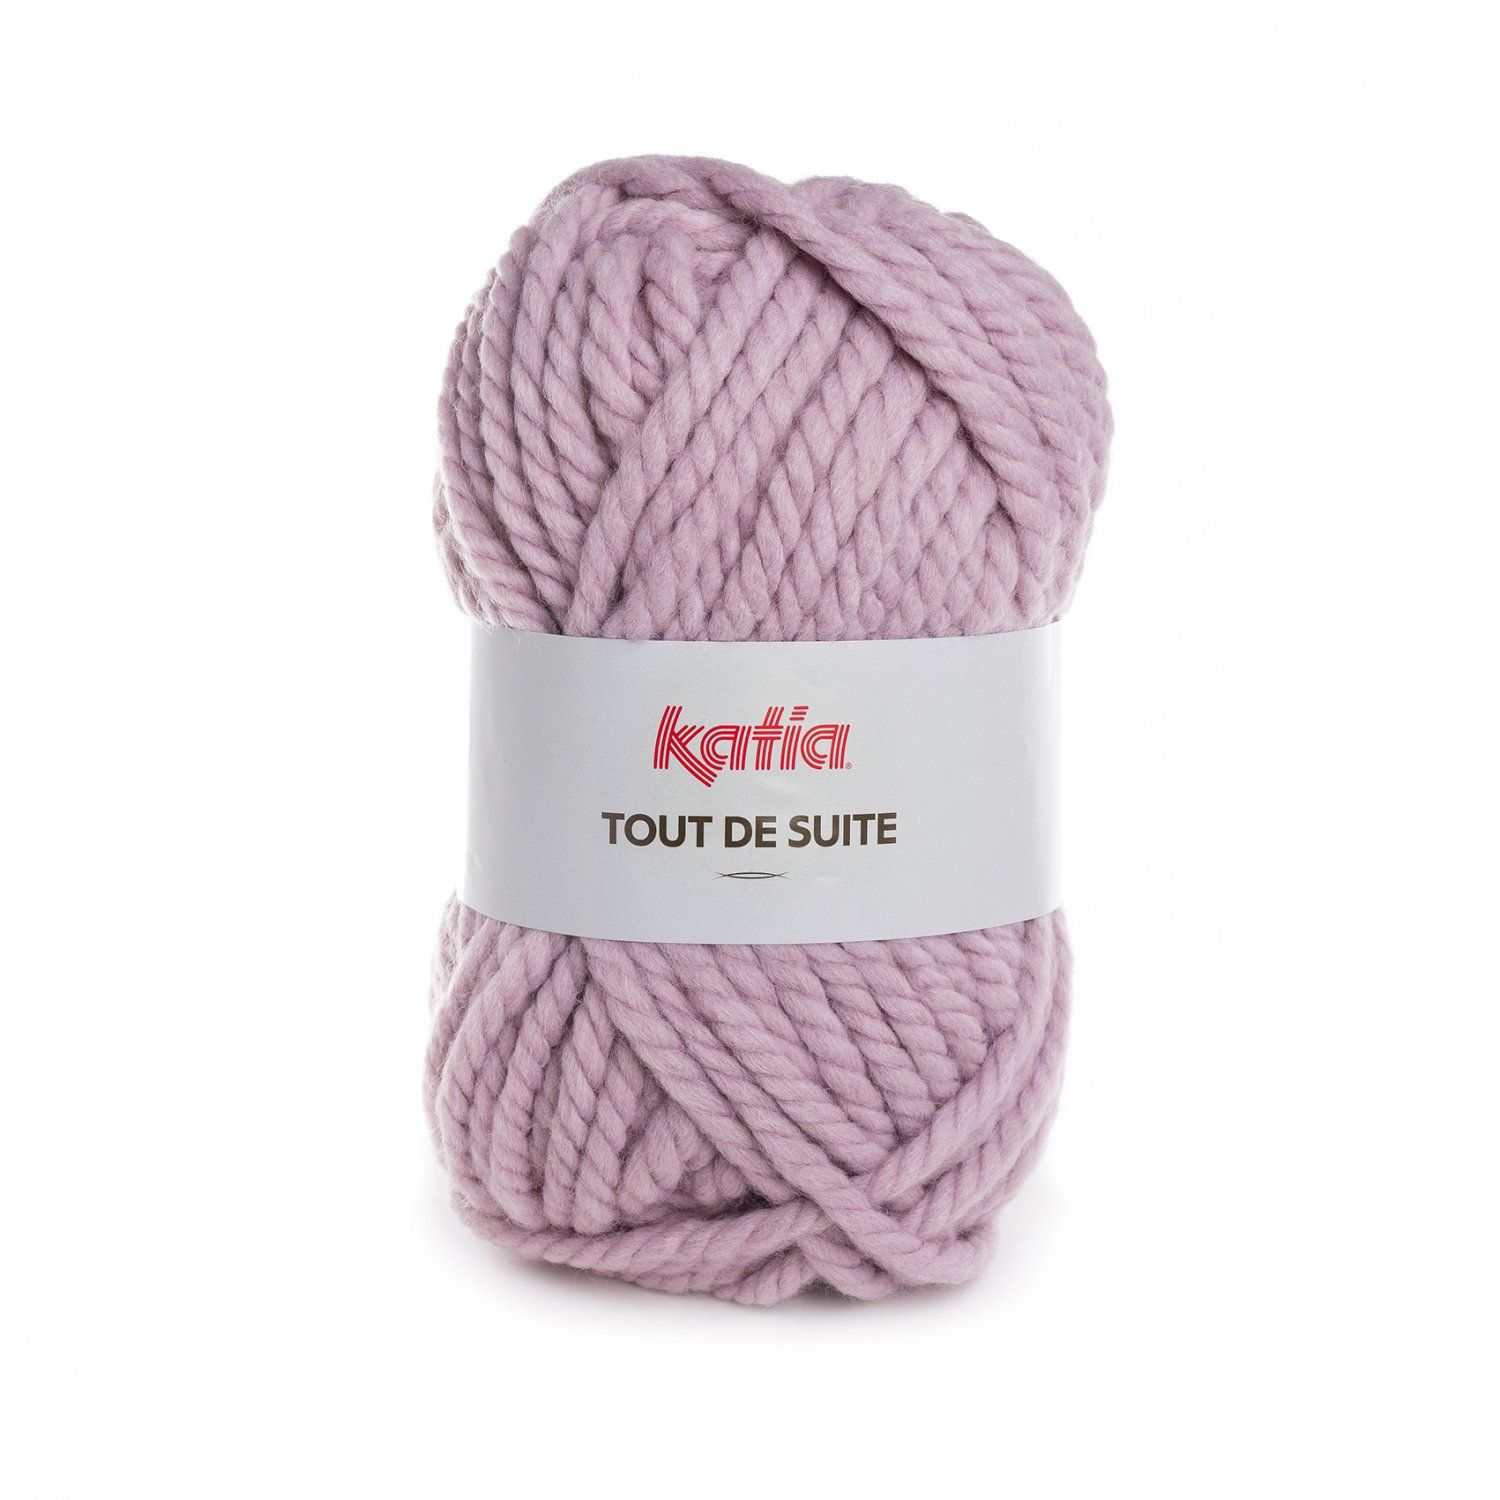
For rugs that are going to withstand more wear and tear, we recommend Katia Big Merino (available in 33 colours) and Katia Tout de Suite (available in 18 colours). These yarns are resistant and durable while still remaining soft to the touch.
Materials to get started
Now you’ve got the right yarn, it's time to get the other tools and materials together so you can begin making your rug! You’re going to need:
- A tufting gun, punch needle gun, or rug machine
- Wooden frame
- Fabric or canvas
- Fabric marker or pencil
- Glue, textile glue, or silicone glue
- Scissors (and a shearing machine if you can)

Step-by-step instructions: tufting your design
- Draw your chosen design on the fabric canvas (either before or after attaching it to the wooden frame).
- Stretch your fabric over the frame so it’s taught.
- Secure the fabric to the frame well with staples or nails (this is really important).
- Load your tufting gun with your yarn of choice and start ‘shooting’ (from what you want to be the back of your piece).
- Make sure to follow and create the lines of the design first and then fill in the empty spaces after (remember to do all parts of one colour at the same time so you don’t need to unload and reload the same yarn).
- When you’ve completed the design, cut the excess yarn.
- (optional) Take another piece of the canvas fabric and glue it to the back of the design to cover it.
- Remove the fabric from the frame and cut it, leaving an edge of a few centimetres around the shape of your design.
- Around this edge of fabric make small cuts perpendicular to the outer perimeter. Make sure the cuts are separated by a few centimetres.
- This will create ‘tabs’ of fabric around the outline of your design so that you can easily glue it to the back to produce a rounded edge.
- Lastly, turn the rug around to the front, and using a shearing machine (or scissors) cut the strands to even out the length and achieve a soft, compact surface.
Don’t have a tufting gun? Try these alternatives
If you don’t have access to a tufting gun you can still make tufted yarn rugs with other tools and techniques. You can use punch needles, knotting, locker hooking, and latch hooking.
It's true that without a tufting gun the process is much slower but these are still incredibly effective, produce beautiful results, and are really relaxing practices.
Want to try one of these methods right away? Take a look at this video tutorial.
Learn a simple technique to make a warm, soft, and modern rug using leftover yarn. You can adapt the design and the size.
How to make a knotted rug
You may also be interested in exploring our wide range of Katia yarns.

