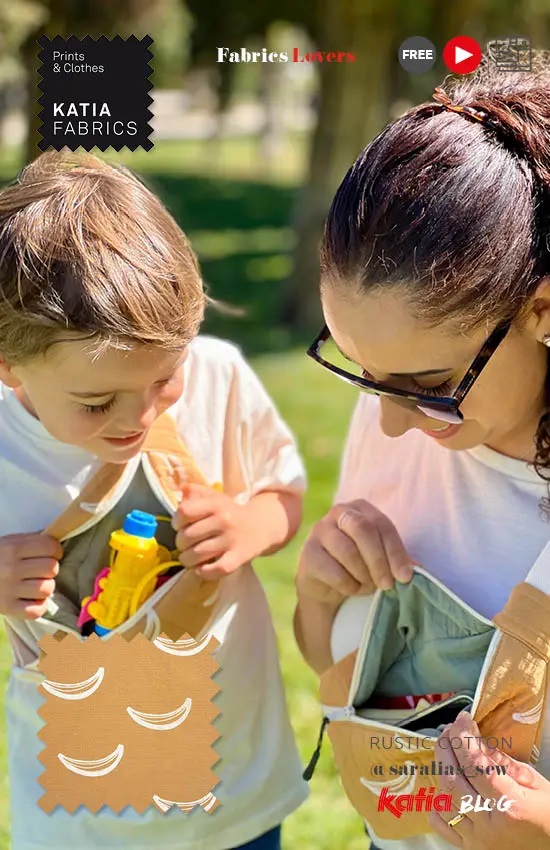
How to make an easy bum bag - Mom & Minime FREE PATTERN
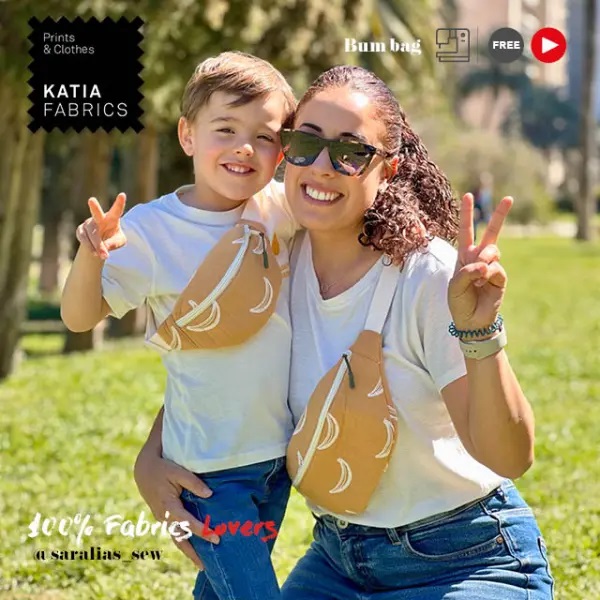
Learn to make matching bum bags for yourself and your little one with this pattern and video tutorial
07/12/2023
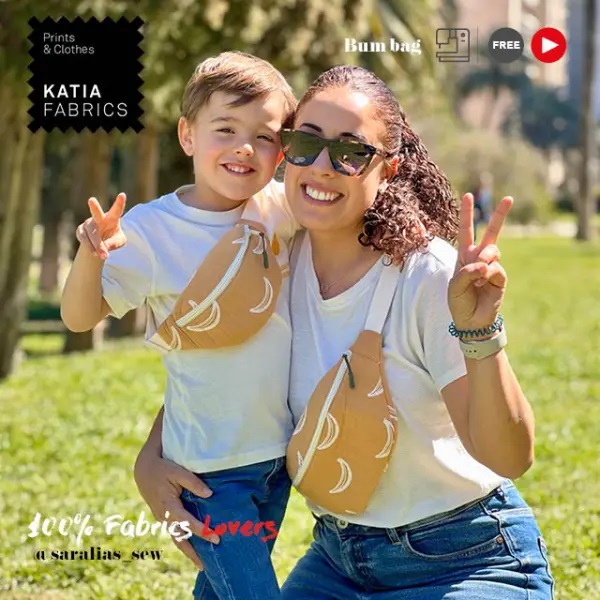
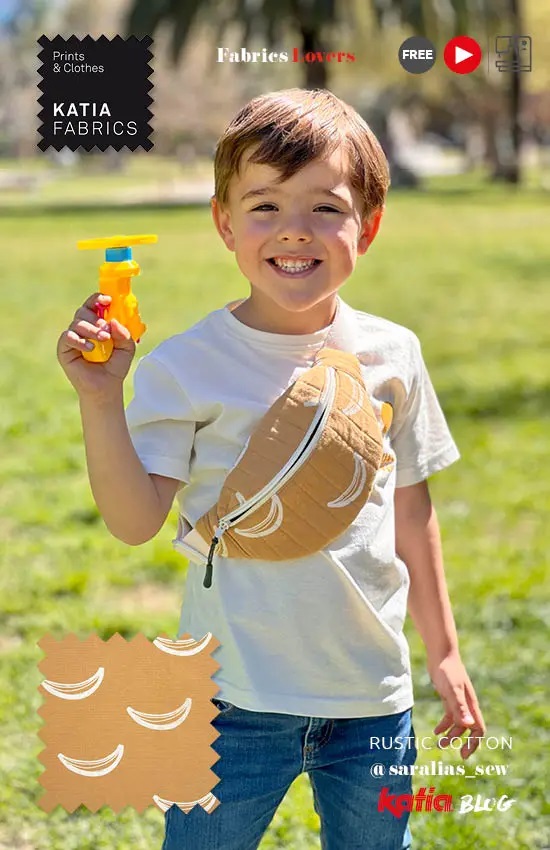
Now, more than ever, bum bags are the absolute must-have accessory; practical, handy, and the perfect size for your essentials. So what’s better or cuter than your own handmade set of two for you and your mini-me?
Follow this free pattern and step-by-step guide from @saralias_sew, along with the video tutorial to make your bags (in two sizes) and practise different sewing techniques. This project is for all levels; just choose your favourite colour and print of our Rustic Cotton and download the pattern to get started. You'll have your custom bags made in no time, ready to take on your adventures together!
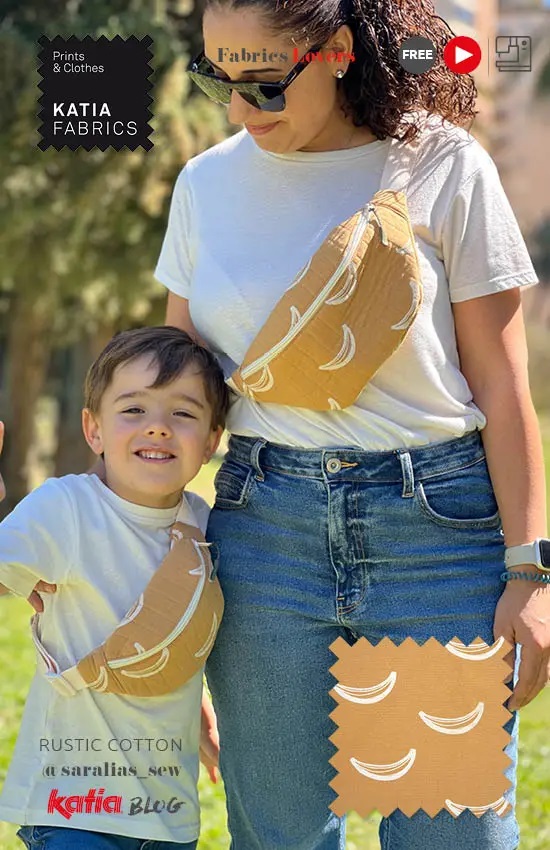
The materials you will need to complete this project are
- Our FREE bum bag sewing pattern
- 19 5/8” (50 cm) of Rustic Cotton in one of our delightful patterns
- 19 5/8” (50 cm) of the fabric Rustic Cotton in a solid colour for the inside
- 19 5/8” (50 cm) of foam
- One zip measuring 12 1/4″ (31 cm) long
- 43 1/4″ (110 cm) of backpack tape: 1 1/8” (3 cm) wide
- One buckle: 1 1/8” (3 cm) wide
- One backpack strap regulator: 1 1/8” (3 cm) wide
- Pencil
- Ruler
- Paper scissors
- Fabric scissors
- Measuring tape
- Tailor’s chalk
- Pins and/or clips
- Sewing machine
- Iron
The 3 techniques you will put into practice
- Adapting a pattern to a smaller size
- Quilting
- Attaching a buckle
Useful information for your bum bag sewing project
- To make the kids’ model, first you have to assemble the pattern and then reduce it.
- Sara explains how to do this at minute 1:52 in the video-tutorial.
How to sew your bum bag step-by-step
1. Cut out all the pattern pieces:
- Front: 1 piece of exterior fabric, 1 piece of interior fabric, 1 piece of foam.
- Back: 1 piece of exterior fabric, 1 piece of interior fabric, 1 piece of foam.
- Upper part: 1 piece of exterior fabric, 1 piece of interior fabric, 1 piece of foam.
- Sides: 2 pieces of exterior fabric, 2 pieces of interior fabric, 2 pieces of foam.
2. Quilt the exterior pieces:
- Using tailor's chalk, mark vertical lines on the pieces with a spacing of 3/4″ (2 cm) in between the lines.
- Then work rows of stitching on top of the lines to join the exterior pieces to the foam.
3. Mount the zip:
- Do this the front piece and upper piece, joining the right side of the zip to the right side of the fabric.
- Insert the zip slider if you have used a continuous zip and leave it open.
4. Mount the side pieces:
- Matching the right sides of the exterior fabric to the right sides of the interior fabric.
How to attach the buckle
-
Cut a strip of the backpack tape measuring 13 3/4″ (35 cm) long and push through the buckle.
-
Cut another piece of backpack tape measuring 29 1/2″ (75 cm) long and push it through the strap regulator and the other part of the buckle.
-
Sew the ends of the tape pieces onto the sides, 1/4″ (0.5 cm) from the edges.
-
Place the exterior piece of the back to the front part of the bum bag, with the right sides facing together, leaving the backpack straps inside.
-
Sew 1/4″ (0.5 cm) from the edge.
-
Match the back piece lining to the front piece lining, with the right sides facing together, and sew all the way around, leaving a 3 7/8” (10 cm) opening at the lower edge.
-
Turn the project inside out to the right side through the opening. Make sure to turn out the corners properly.
-
Close the opening in the lining fabric with an invisible hand sewn stitch.
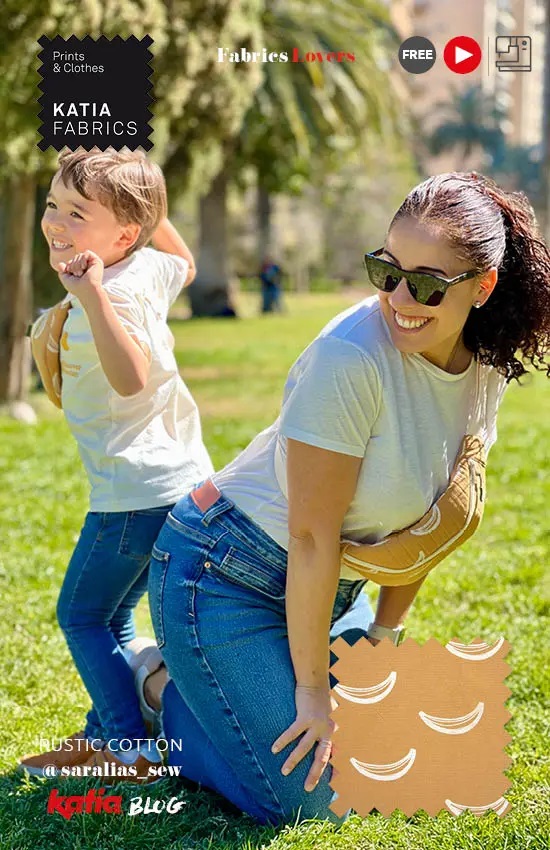
Now your bum bags are ready to wear together. And here are 10 more wonderful ideas to sew for your little ones, just in time to enjoy this summer!


