How to make a bunny backpack: Free sewing tutorial
March 29, 2023
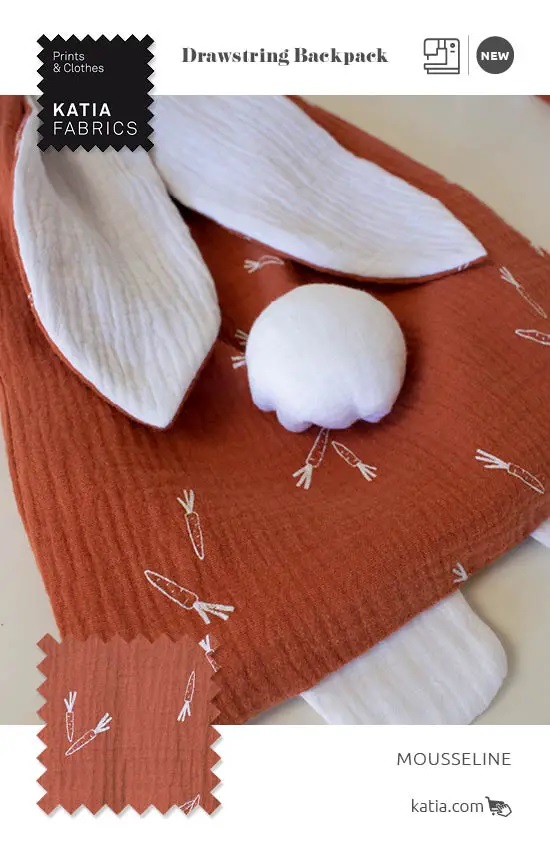
A step-by-step guide on how to sew an adorable bunny drawstring bag
03/29/2023
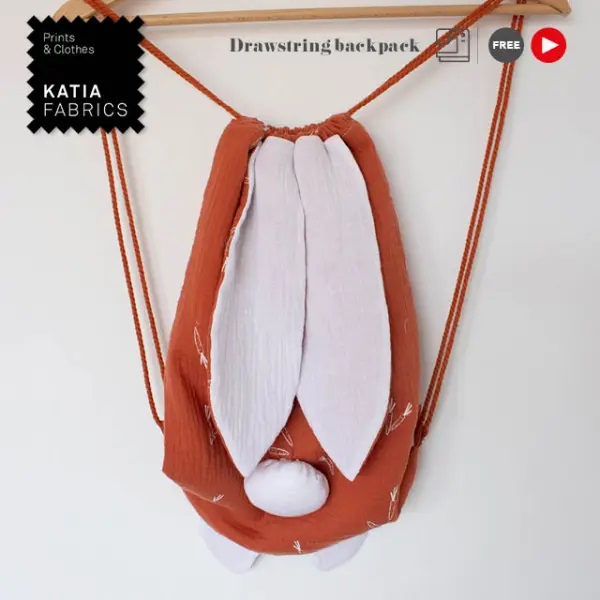
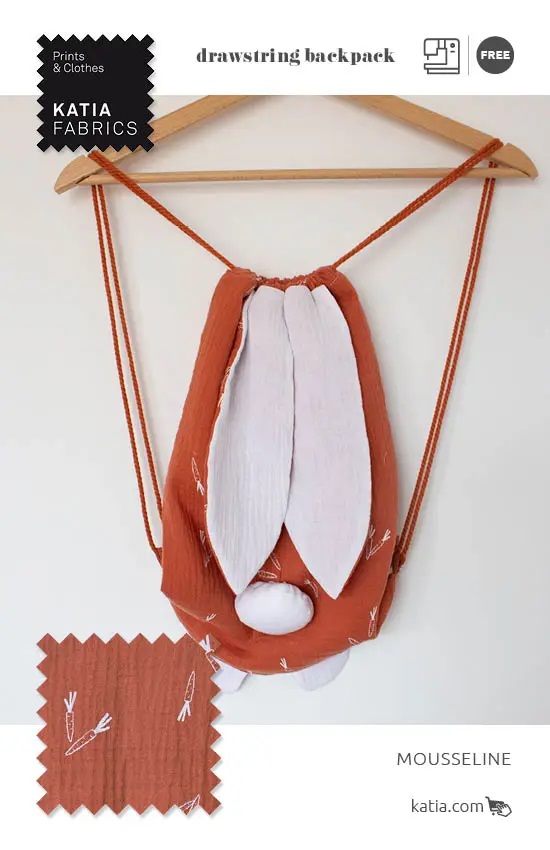
Looking for a sewing project to dive into this Easter? Here it is. This delightful drawstring bag comes with its very own legs, floppy bunny ears, and fluffy tail. Learn how to sew it in as little as an afternoon with our easy-to-follow steps and video tutorial. And you don’t need a lot of materials or equipment!
A straightforward, fun, and practical project perfect not only for Easter (it’s the perfect accessory for an Easter egg hunt), but also to wear on a day out, to the park, or even to school.
Let’s hop right in.

The materials & tools you’ll need to complete this project are:
- 40 cm of muslin fabric with a carrot print.
- 40 cm of brown muslin or other colour of your choice (lining, inner ears, tail).
- 3 m of cord
- a Universal needle, size: 80/90
- Sewing machine and thread.
Recommendations and useful information for your bunny bag project:
- Wash your fabrics before starting the project to avoid shrinking later on.
- Make sure that all the pieces are correctly cut and pinned to avoid seam ripping.
- Muslin is our recommendation because it’s an incredibly soft 100% cotton fabric, and has a wrinkle effect which is very forgiving.
- Watch the video closely. The exact measurements of each piece are included in the video and in the instructions below.
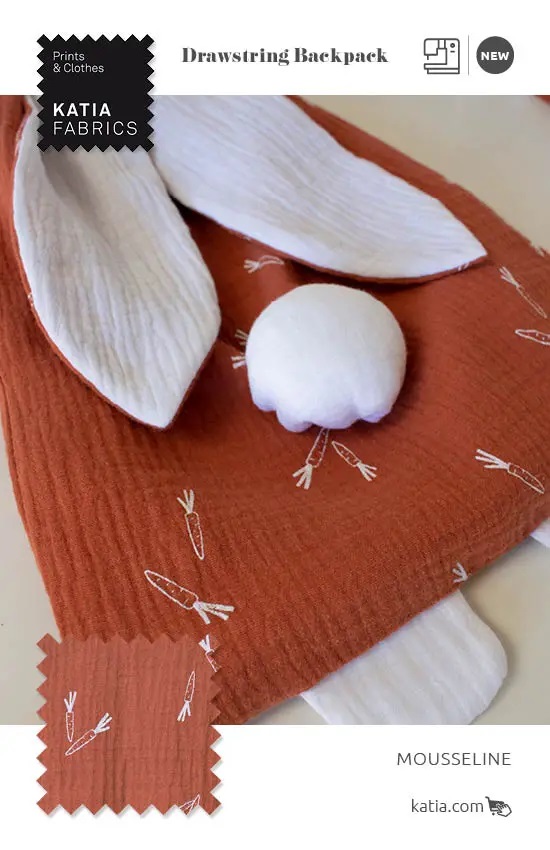
Video tutorial: How to sew your bunny drawstring backpack
Step-by-step instructions:
Cutting the pieces
- Cut 4 pieces measuring 30 x 40 cm: 2 pieces of print fabric and 2 pieces of white muslin for the lining.
- Cut out the pieces for the rabbit: ears, legs and tail.
- Cut 2 strips of fabric measuring 4 cm x 7 cm.
- As well as 2 pieces measuring 30 x 6 cm.
Sewing the bag
- Sew the ears and the legs. With right sides facing each other, sew along the edge of the fabric using a straight stitch, leaving the straight section unsewn to turn it inside out.
- Turn the ear, iron it and sew the opening. Do the same with the other ear and 2 legs.
- Before sewing the backpack, fold the two strips measuring 4 x 7 cm as if they were bias tape, and sew a straight stitch along the length of them.
- Place both outer fabric pieces with right sides facing each other, and place the two strips you’ve just sewn in between the fabric pieces, at the bottom corners.
- At the bottom edge, place both legs centred. Sew along the contour leaving the top unsewn.
- Place the lining fabrics with right sides facing each other and sew along the contour without sewing the top.
- Turn the bag inside out.
- Place the ears centred and sew them to the outside bag.
- Insert the outside layer inside the lining, as well as the two pieces measuring 30 x 6 cm folded in half. This will become the piece that we’ll run the cords through. Pin down well and sew along the entire contour without leaving any openings.
- Turn the bag inside out, sew the opening and iron it.
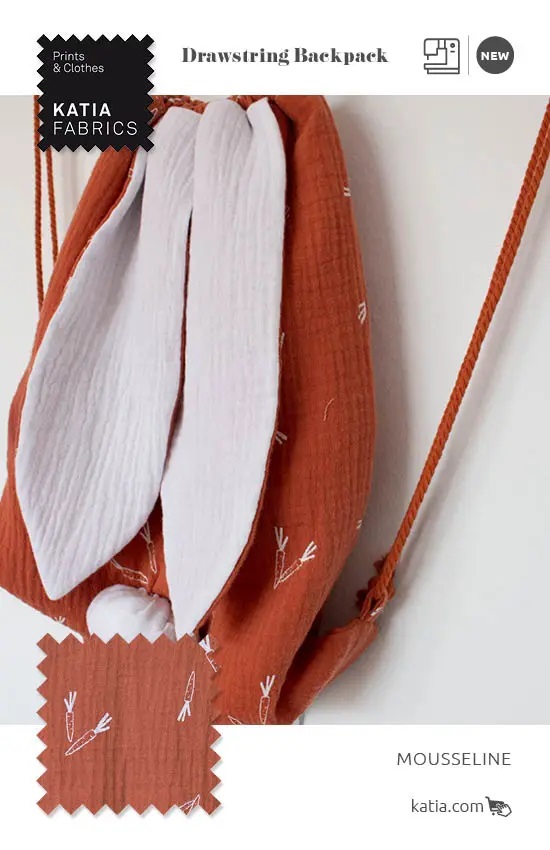
And finally, the bunny tail
- Run a loose thread along the entire edge of the tail and insert fabric scraps. Pull the thread to close the tail, and finally sew it in place.
- Lastly, using a safety pin, insert the cords
We say hello to spring!!! it’s time to explore which colourful, bright, and cheery fabrics you’re going to use for your next seasonal projects!

