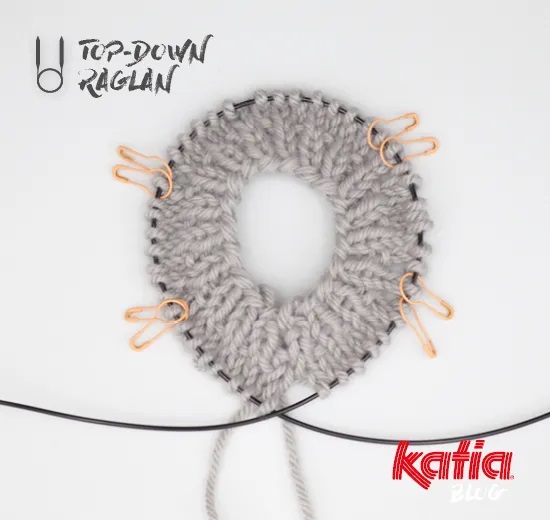
How to knit top-down and bottom-up jumpers with circular needles
Learn to knit with circular needles so you can master the skill of creating seamless pieces
03/07/2023
Whether you call it circular knitting or knitting in the round, it’s something you’ll want to learn so you can improve your knitting skills beyond the basics. And although this is possible with straight needles, you’ll soon see how much easier it is with circular needles.
Knitting with circular needles means knitting all kinds of three-dimensional tubular pieces (hats, socks, sleeves, and more) hassle free! Buy yourself a set of interchangeable circular needles and you’ll have the freedom to create things that combine different needle sizes and yarns.
You won’t look back.
If you are a beginner, and new to the world of circular knitting needles, check out this post to help get you started

First we’ll take you through how to knit top-down jumper patterns and then we’ll move onto bottom-up jumper patterns.
How to knit seamless jumpers with circular needles
1. Top-down jumpers
Patterns: Raglan and Yoke
As the name suggests, a top-down jumper is one that you knit from the neckline (the top, of course) to the hem (the bottom, naturally). Top-down jumper patterns widely feature the techniques raglan or yoke.
Raglan: the sleeves start from the top of the neckline and follow the shoulder line from there to the sleeves.
Yoke: often known as one of the simplest of styles to knit with circular needles, following the neckline down, with no difference between the front, back, or sides. Round yoke jumpers are unique because you can’t see the lines ‘joining’ the sleeves. In other words, completely seamless.
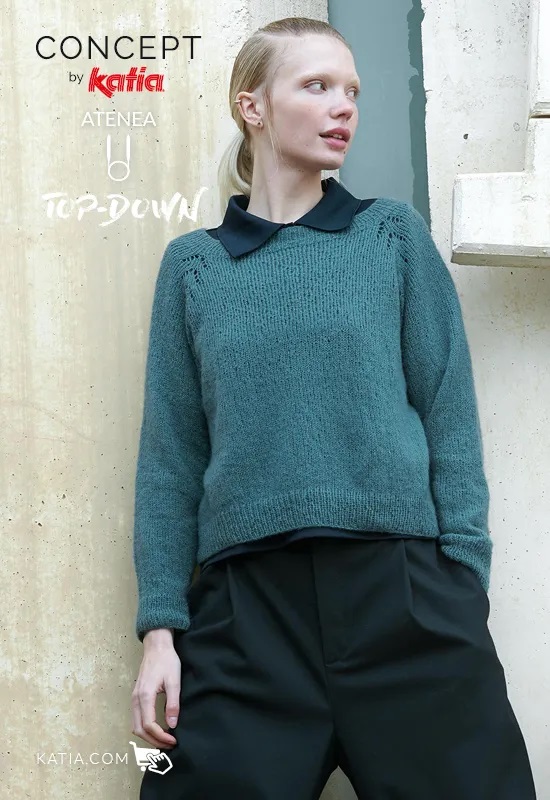
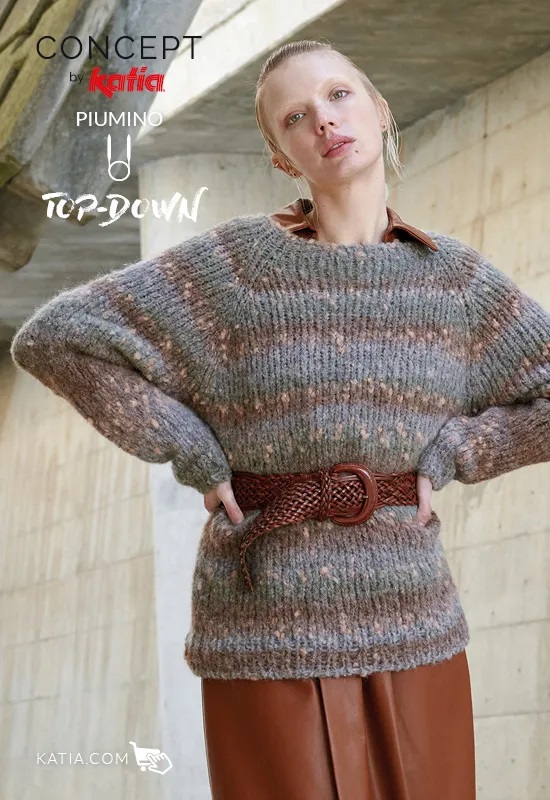
Neither technique requires you to sew the parts of your jumper together at the end, of course. Afterall, isn’t this what we’re trying to avoid by knitting in the round?
How to knit:
a top-down raglan jumper
1.1 Neckline
- Get your circular knitting needles with a 40-60cm cable and your pattern.
- Cast on the number of stitches shown in the pattern for the size you want.
- Follow the video below to see how to join the first and last stitches to work in the round (try not to twist the stitches).
Tip: Place a stitch marker at the beginning of the round (BOR).
Work a rib stitch, or the stitch shown in the pattern, in the round until the necklie.
1.2 Raglan yoke
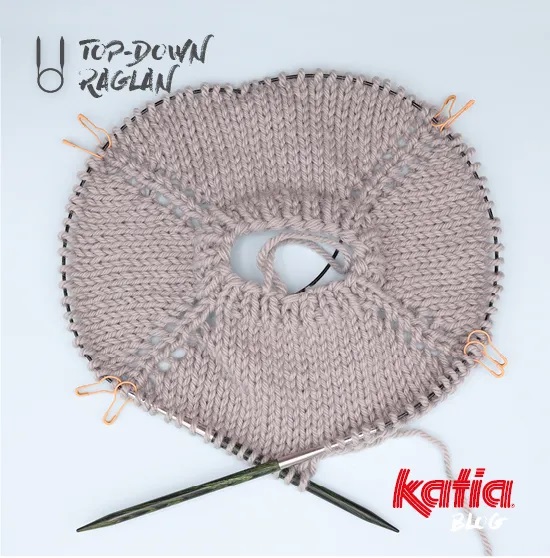
- Have 8 stitch markers ready so you can separate the stitches that correspond to where the sleeves, front, back, and raglan creases are shown.
Tip: Use different coloured stitch markers that the one you used at the beginning of the round (BOR).
- Increase before and after each stitch marker, except along the raglan stitches. Note: The number of raglan stitches between the stitch markers is always the same.
1.3 Separate sleeves to knit the body
When the yoke measures the length shown in the pattern, this is when you separate the sleeves from the body/chest. Here’s how:
- Continue knitting the current round, without increasing, up to the first marker of a sleeve: slip all the sleeve stitches onto a cable (or waste yarn).
Tip: Don’t use a stitch holder, because they’re very stiff and can make knitting the body uncomfortable.
- When all the stitches for the first sleeve are on hold, it’s common/recommended to cast on some stitches at the underarm using a cable cast-on (as you can see in the video).
If you don’t do that, the sleeve and armhole can end up too narrow and be uncomfortable to wear.
- Continue knitting the front stitches up to the next sleeve marker and repeat the same steps.
- Finish knitting the stitches until you reach the centre of the back or the initial BOR marker. As you do, remove the markers (except the BOR marker) as you go along.
1.4 Body
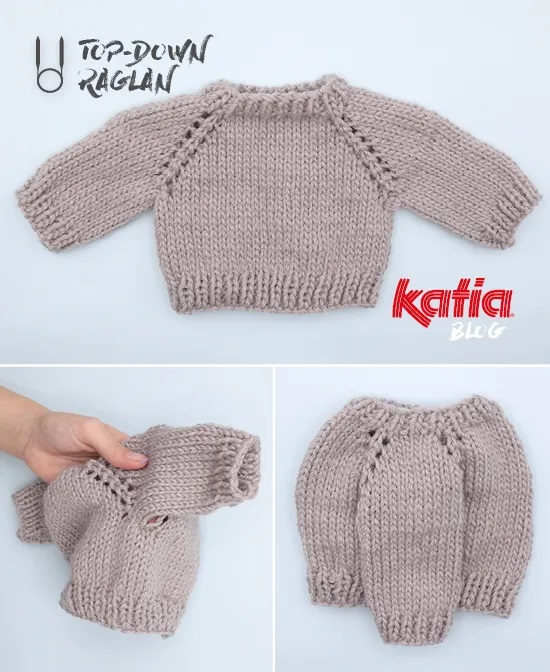
By this point on one hand you’ll have: the sleeve stitches on hold on cables (or waste yarn). And on the other hand you’ll have: the body stitches on the needles.
- Carry on knitting the body in the round until it measures the length shown in the pattern.
1.5 Sleeves
Now the body is done, it's time to move onto the sleeves.
- Put all the stitches for one of the sleeves on hold onto the needles with an 80-cm cable (at least). This is so you can use the magic loop method.
Are you familiar with the magic loop method? If not, watch the video below!
Tip: An 80-cm cable (or longer) makes working the magic loop technique more comfortable. If you want, you can distribute the stitches on double-pointed needles. They’re perfect for knitting small circumferences like sleeves.
- Knit the sleeves to the length needed (down to the cuff), working the decreases shown in the pattern.
How to knit:
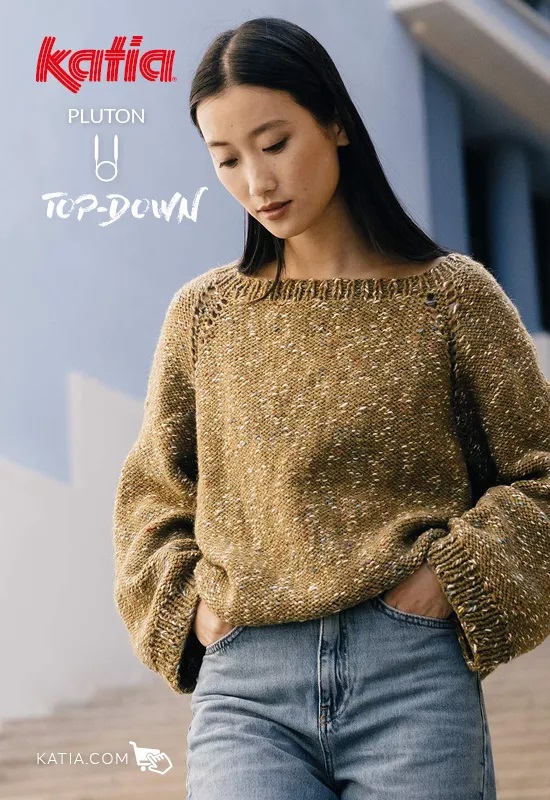
a top-down jumper with a round yoke
You’ll see that for this jumper, the only difference is the way the increases are distributed throughout the yoke. The rest of the jumper is worked in the same way as above.
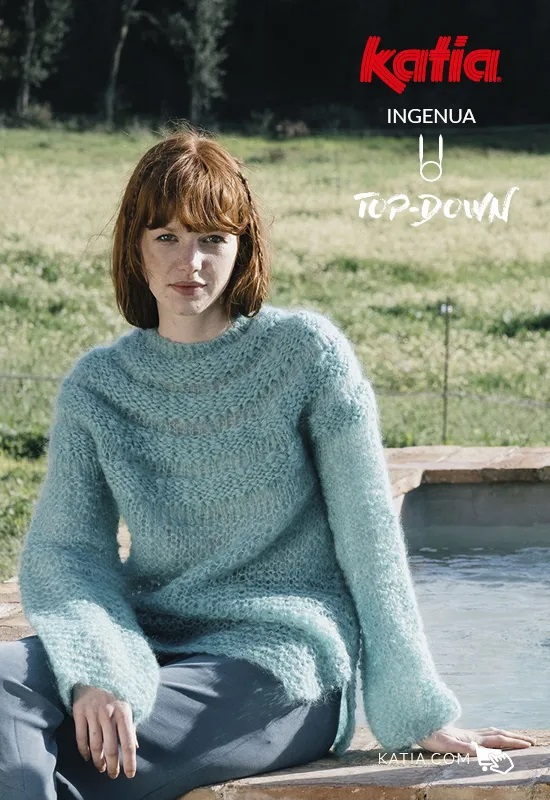
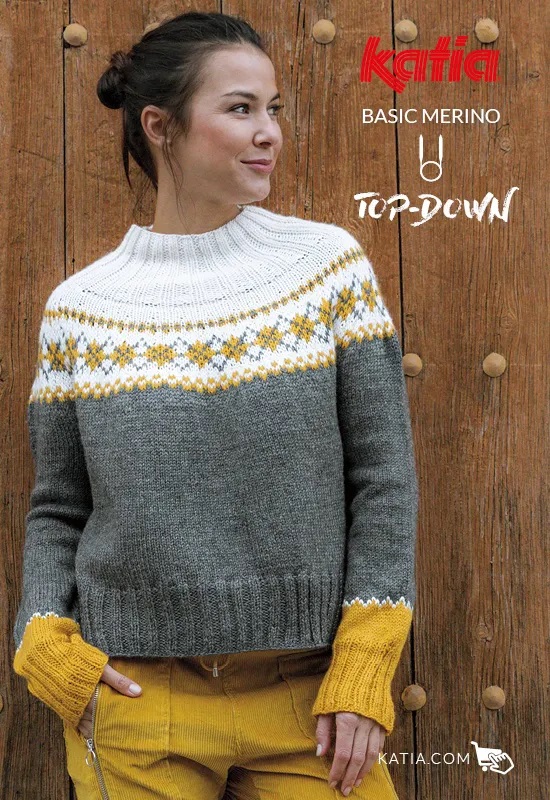
Learn how to increase a round yoke
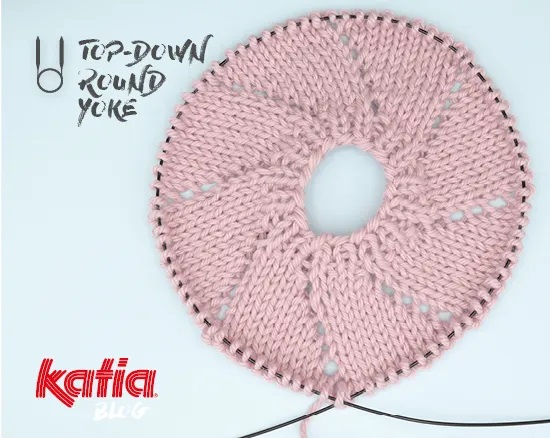
Distribute 8 increases throughout the stockinette round (the same number of increases as the raglan), but make sure they don’t coincide. This is how we achieve the round yoke effect and not the raglan increases.
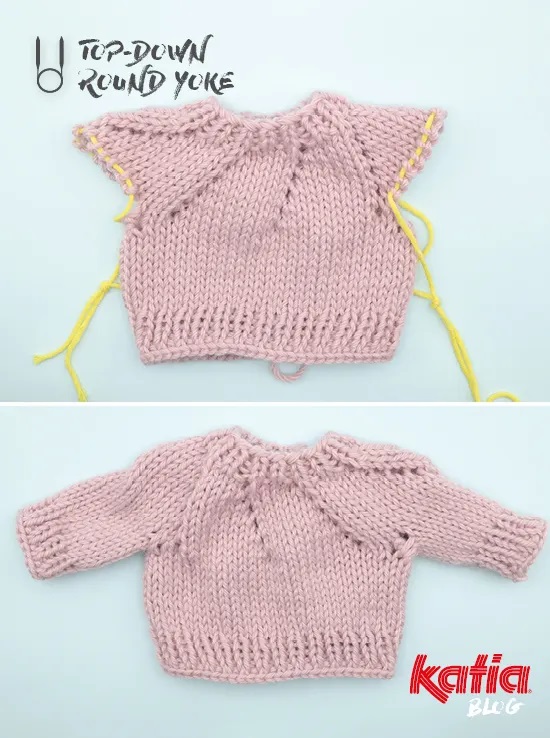
2. Bottom-up jumpers
As this name suggests, a bottom-jumper is one that you knit from the hem (the bottom, of course) to the neckline (the top, naturally).
2.1 Body
- Cast on the number of stitches shown in the pattern, join to work in the round and knit the ribbed hem.
2.2 Sleeves
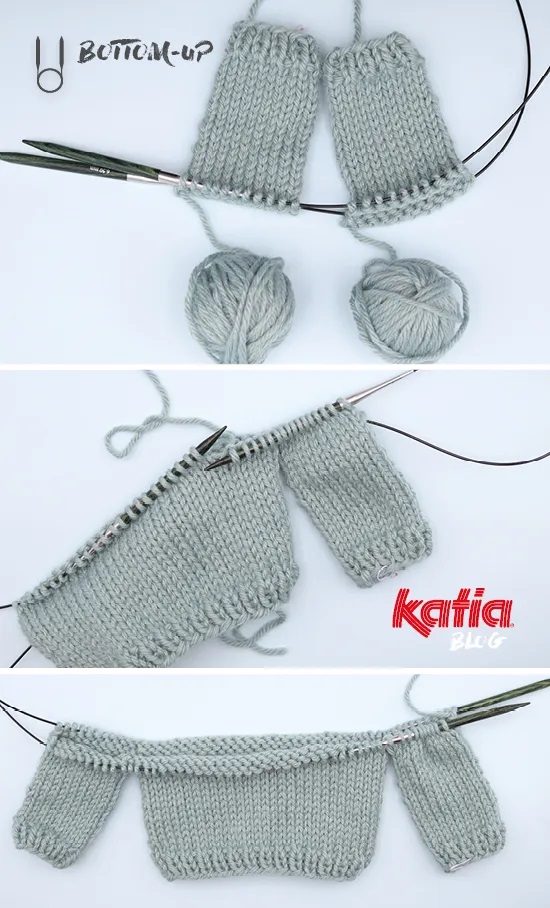
- Knit until you reach the armholes. Then put what you’ve done until that point on hold and begin on the sleeves.
- Follow the pattern instructions as you knit the sleeves separately.
Tip: If you knit both sleeves at the same time, you make sure they both have the same number of rounds. If so, we recommend working with two balls (one per sleeve). Remember to knit each sleeve with its corresponding yarn and to work the increases shown in the pattern on both sleeves.
2.3 Joining the sleeves
- When you’ve finished knitting the sleeves, join them to the body that was on hold.
2.4 The yoke
Remember the construction of the top-down jumper? There are two types of yokes: raglan, and round (check again above).
- With the round yoke, work evenly distributed decreases in the round, as previously explained.
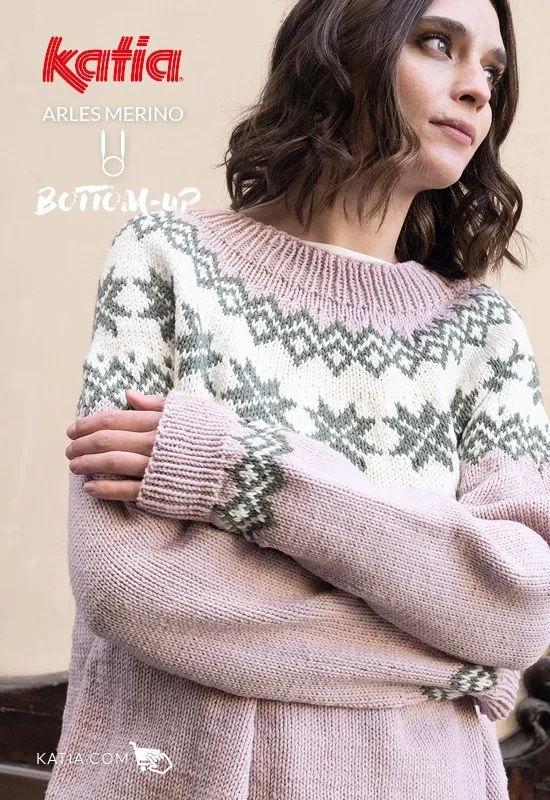
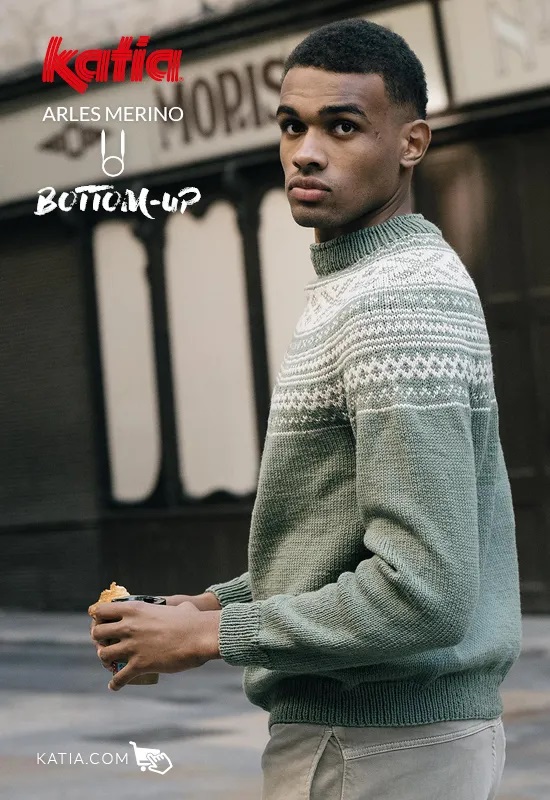
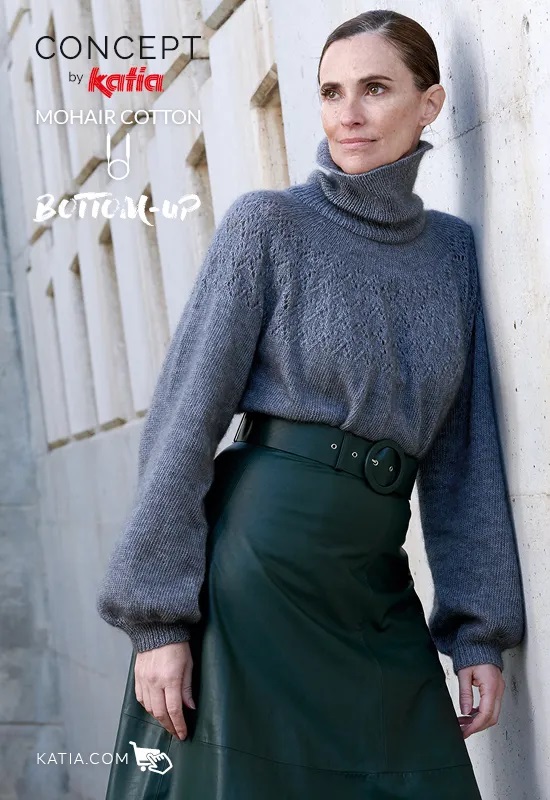
- However, for the raglan, work the decreases in the same spot on each round (this is what creates the characteristic raglan lines from the armholes to the neckline).
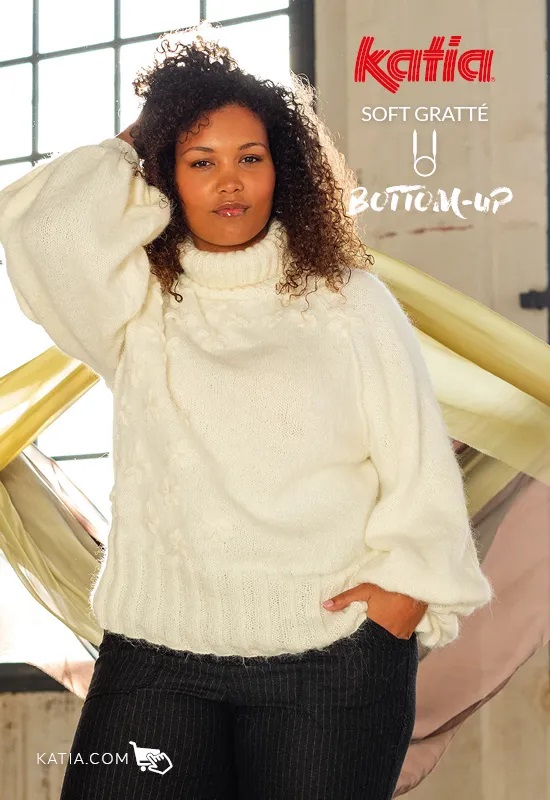
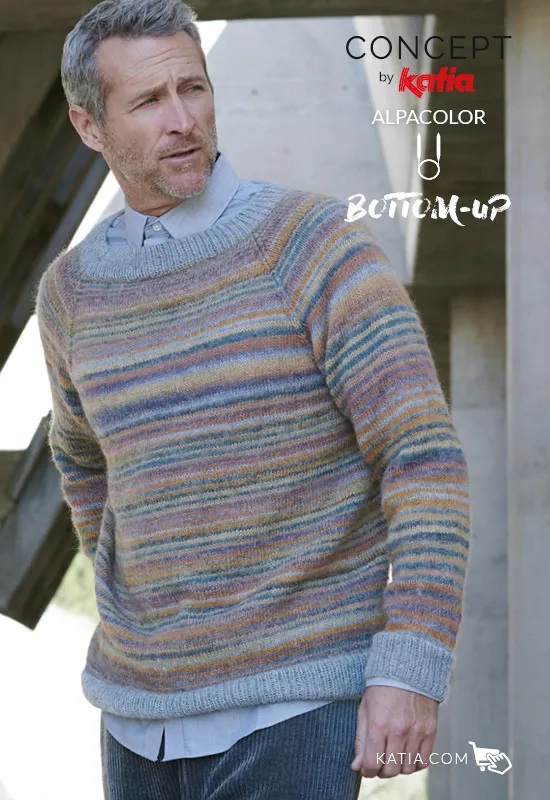
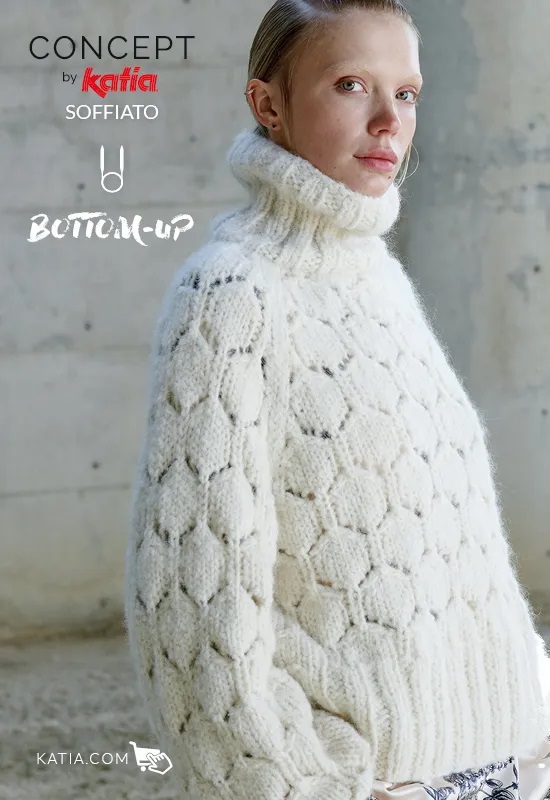
You’ll see that when you start the jumper from the bottom up, at the yoke you make decreases, not increases.
We know it can be tricky learning to use new needles or adopting new techniques but we hope you continue to practise knitting-in-the-round!
Why not try these jumpers using circular needles next?


