Proyekto Amigurumi | Cupcake with candle by Oh!Villo
Come on, we´re going to sweeten up our crochet! Blow out the candle with us on this cupcake which has been created by the one and only Cristina, from Oh!Villo. First, we´re asking for a wish… that you´ll also be encouraged to make your own electric amigurumi. Electric? Surprise yourself, Cristina creates amigurumis with lights!

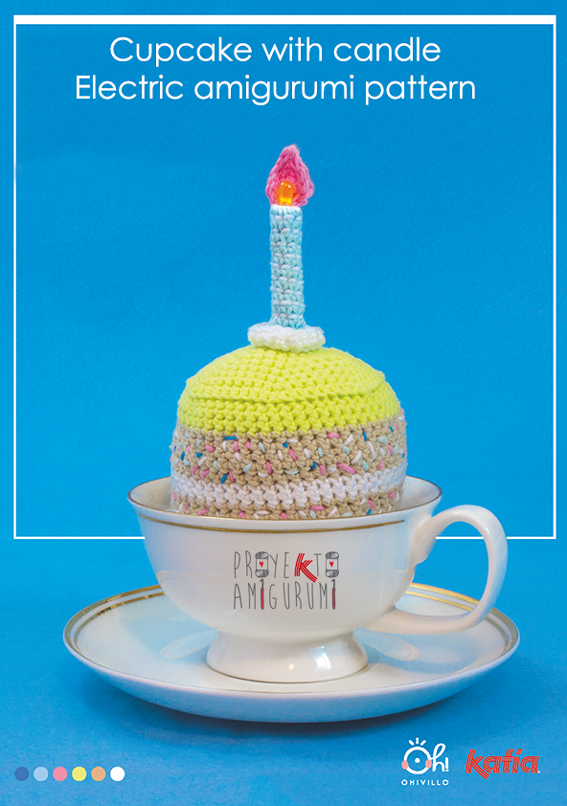
Oh!villo has designed this cupcake with candle, a funny electric amigurumi pattern to celebrate a birthday in a very original way. The ingredients: Amigurumi 100% Cotton, Inox Lace, a small led light bulb and a battery. We recommend that you take a look at the universe of yarns, electronic elements and crochet from one of our surprising Craft Lovers.
Electric amigurumi birthday cupcake pattern
Materials
- Amigurumi 100% Cotton (assortment S01)
- Inox Lace
- Filling for amigurumis
- One small orange 5mm led light bulb
- One 3V button cell battery, type CR2016
Tools
- Crochet hook size 1 mm
- Crochet hook size 2.5 mm
- Tapestry sewing needle
- Scissors
- A pair of craft pliers with rounded ends
Stitches
- ch: chain st
- sc: single crochet
- sl st: slip st
- dc: double crochet
- inc: increase
- dec: decrease
Cupcake pattern
Using 2.5 mm hook:
- Cake & Candle
Start with light blue
R1: 6ch, join with the first st to make a ring
R2: 6sc passing the yarn through the inside of the ring
R3-12: 6sc
Change to fluorescent green
R13: 1inc in each st (12)
R14: *1sc, 1inc* (18)
R15: *2sc, 1inc* (24)
R16: *3sc, 1inc* (30)
R17: *4sc, 1inc* (36)
R18: *5sc, 1inc* (42)
R19: *6sc, 1inc* (48)
R20: *7sc, 1inc* (54)
R21: 54sc in each st inserting hook through back of chain st loop
R22-23: 54sc in each st
Change to beige
R24-28: 54sc in each st
Change to white
R29-30: 54sc in each st
Change to beige
R31-37: 54sc in each st
Change to white
R38: 54sc in each st inserting hook through back of chain st loop
R39: *7sc, 1dec* (54)
R40: *6sc, 1dec* (48)
R41: *5sc, 1dec* (42)
R42: *4sc, 1dec* (36)
R43: *3sc, 1dec* (30)
R44: *2sc, 1dec* (24)
R45: *1sc, 1dec* (18)
R46: 1 dec in each st (6) fill and close.
- Candle holder
In white
R1: 9ch, join with the first st to make a ring
R2: 1sc in each st (9)
R3: 1inc in each st (18)
R4: 1sc in each st (18)
- Flame
In pink
Start: Magic ring with 6sc
R1: 3sc, 1sc, *1dc, 1ch, 1dc*
1dc in the next st (8)
Close with a slip st.
- Embroidering the details

Led circuit
Using size 1 mm hook and Inox Lace
Important: We use 2 strands of Katia Inox Lace to increase the thickness.
Start: Magic ring with 6sc
R1: 1 inc in each st (12)
R2: *1sc, 1 inc* (18)
R3: 1sl st, 100 ch
Cut yarn, leaving a long tail.
Make 2 pieces the same.
Battery case / holder
Using size 2,5 mm hook and white
Start: Magic ring with 6sc (6)
R1: 1inc in each st (12)
R2: *1sc, 1 inc* (18)
R3: *2sc, 1 inc* (24)
Make 2 pieces the same.

I._Sew on the flame and the candle holder.