This is how a tufting work of art is created! Learn how to tuft a weaving with the artistic duo Twee Muizen
Twee Muizen is a Galician artistic duo comprised by Cris Barrientos and Denís Galocha. Their project focuses on creating surrealist characters, murals, masks, and wool weavings made using tufting inspired by their roots and influences. They have taken part in several exhibitions, illustration collaborations for El País, textile biennials, and murals festivals. In this post, you have the chance to learn how to tuft a weaving with this artistic duo. Follow the creative process with videos by Twee Muizen to make the Ondiñas weaving, a colorful tufting textile work of art!
How to tuft a weaving
To create this spectacular tufted weaving, Chris and Denís experimented with different Katia yarns in earth, white, and blue tones such as Big Merino, Tout de Suite, Mindwoolness, Alaska and the new WOW! Chunky. As well as the balls of yarn, if you want to learn how to tuft a weaving, here is the list of basic tools and materials to start tufting:
- Tufting gun
- Wooden frame
- Fabric canvas for tufting (like monks cloth)
- Fabric marker or pencil
- Textile glue
- Scissors
- Shearing machine
- Linen fabric or a strong fabric to cover the back of the weaving

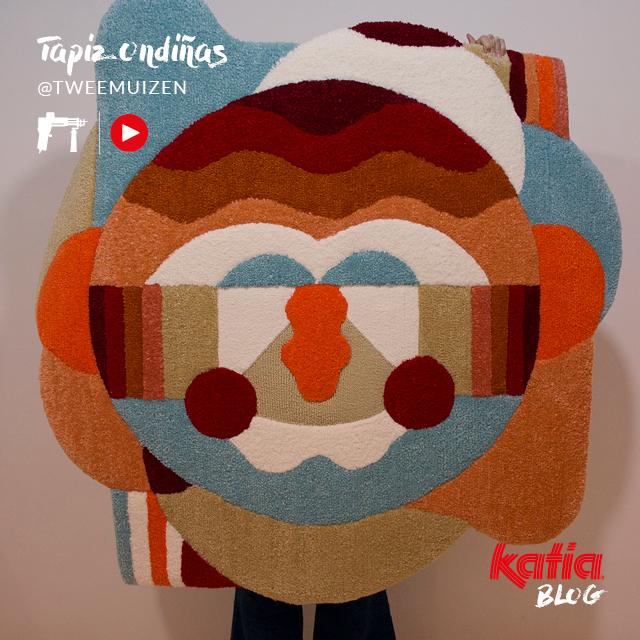
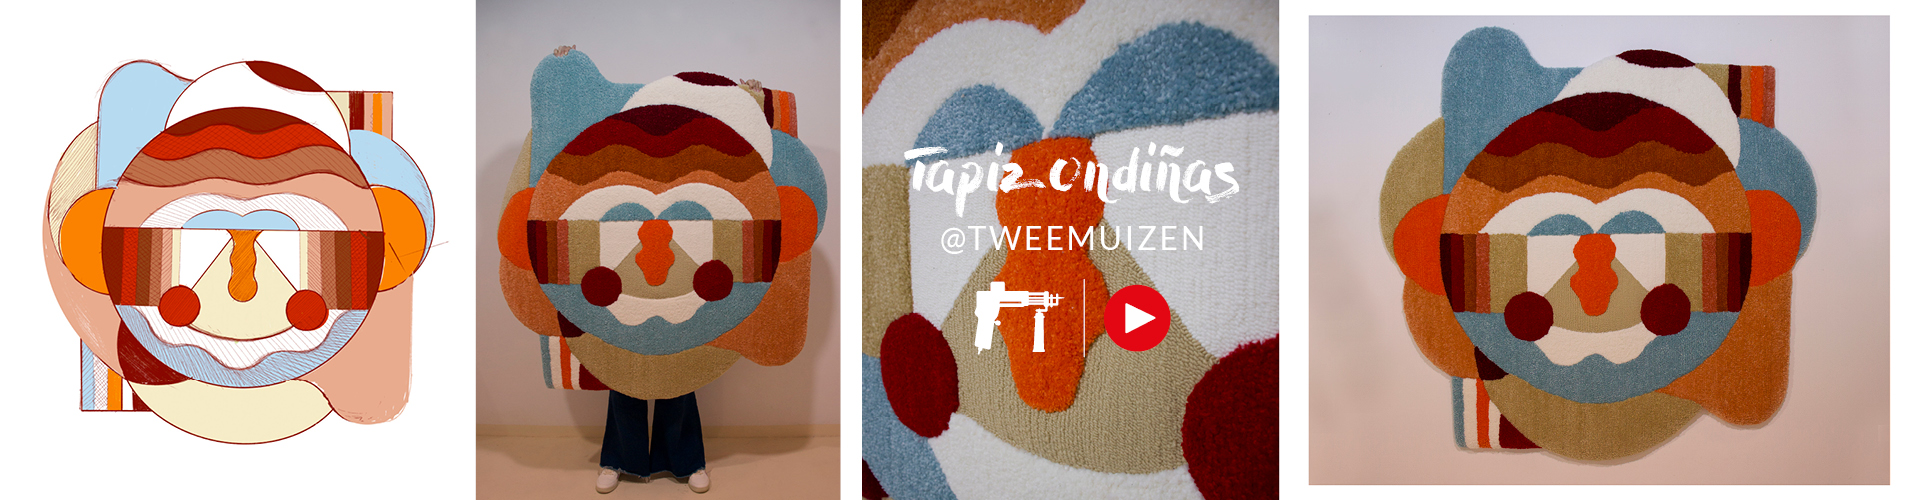
Ondiñas Weaving by Twee Muizen
The Ondiñas weaving is inspired by their work Máscara palmera:
In this design they wanted to give color a special role, with gradients in some areas and contrasting colors in others. Another of the main ideas was that, with just a glance, the audience is met with a gaze. That´s why we decided to make its eyes blue. We have also combined two tufting tools: cut and loop, to play with volume and depth.
Step-by-step instructions with videos
In the videos, you can see the following steps of the creative process of the Ondiñas weaving:
1. Tighten the fabric canvas and draw the design.
2. Start with the smaller surfaces and move on to the larger areas.
3. Then work the outlines with the scissors and the shearing machine, to better separate the colors.
4. Finish the entire piece and go back over the edges with the scissors.
5. Apply the textile glue to the back to fasten all the fibers.
6. Sew a strong fabric to the back as a lining, in this case we use pink linen.
7. Now the piece is ready to hang.
If you want to get started in tufting, we recommend the following post: Get ready to ‘shoot’ yarn with tufting, the most popular textile technique to create colorful rugs and weavings