Guide to knitting top-down and bottom-up sweaters with circular needles… seamlessly!
Is knitting in the round one of your New Year’s resolutions? If you want to learn how to knit seamless sweaters with circular knitting needles, both top-down and bottom-up, this guide is for you. Save this post to read it whenever you have any questions! Because it’s full of useful tips, step-by-step videos, and a selection of Katia patterns to knit seamless sweaters.
How to knit seamless sweaters with circular needles
First, if you’re a beginner or still don’t knit with circular knitting needles, we (highly) recommend these two posts:
- How to knit with circular knitting needles: advantages, tips, and patterns to knit seamless accessories
- Lose your fears! Learn to knit with circular needles with our step-by-step videos
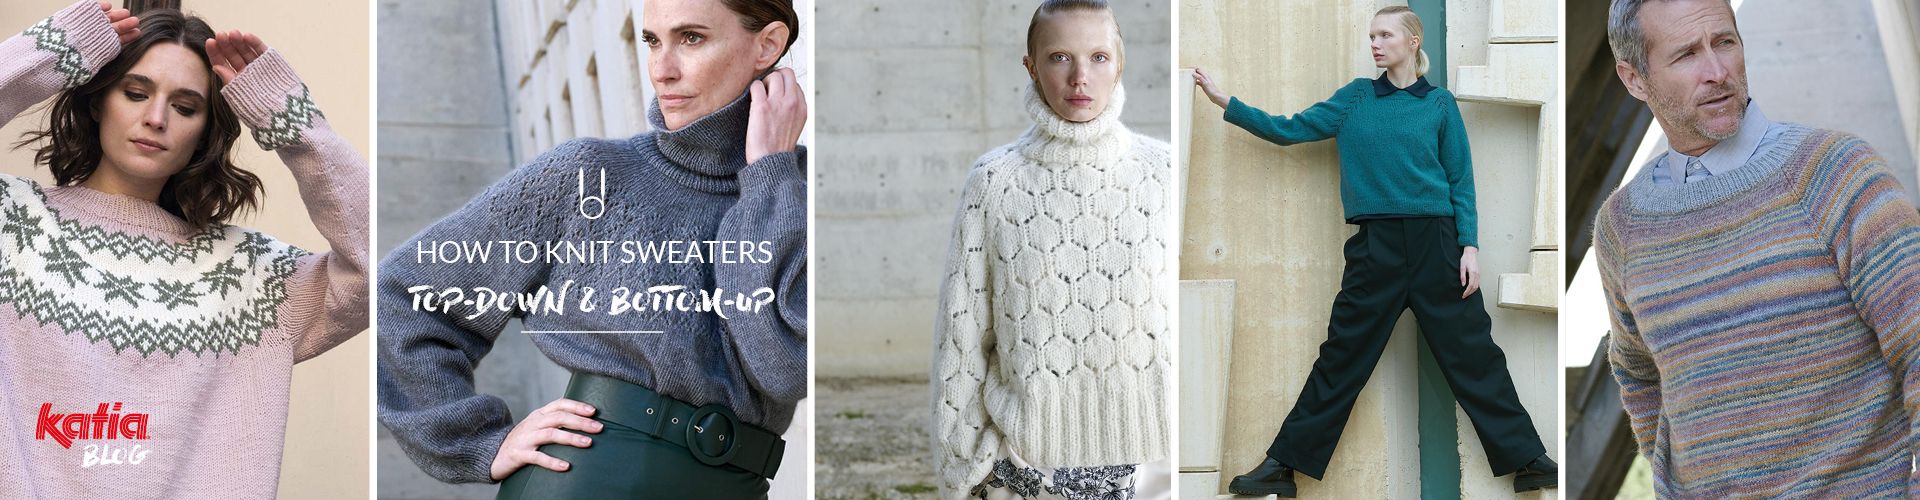
Both if you’re an experienced knitter or a beginner, follow this full guide to knitting sweaters with circular knitting needles. Although each sweater pattern can feature different necklines, outlines, techniques, and stitches used, here we’ll share three basic recipes to knit seamless sweaters: top-down with raglan increases, top-down with a round yoke, and bottom-up.
1 | Top-down sweater patterns
Top-down sweater patterns are knit from the neckline down to the hem. Within this top-down construction, you can find sweaters with raglan increases or with a round yoke.


1.1 | How to knit a top-down sweater with raglan increases
With this kind of construction, it’s common to highlight the raglan increases with lace, textured stitches, cables, or any other kind of contrasting stitch pattern.
1) Neckline
First, get your circular knitting needles with a 40-60-cm cable ready and cast on the number of stitches indicated in the pattern according to size.
Join the first and last stitches to work in the round, taking care to not twist the stitches. In the next video, you can see how to join the first and last stitches to work in the round.
Tip: Place a stitch marker at the beginning of the round (BOR).
Work rib or the stitch indicated in the pattern in the round until the neckline measures the centimeters specified.
2) Raglan yoke
Keep 8 stitch markers handy to separate the stitches corresponding to the sleeves, front, back, and raglan increases as stated by the pattern.

Tip: Use stitch markers in different colors than the BOR marker.
Now it’s time to increase! Increase before and after each stitch marker, except along the raglan stitches. The number of raglan stitches between the stitch markers always remains the same.

3) Separate sleeves to knit the body
Once the raglan yoke measures the length indicated in the pattern, it’s time to separate the sleeves from the body as follows:
Continue knitting the current round, without increasing, up to the first marker of a sleeve: slip all the sleeve stitches onto a cable or waste yarn.
Tip: avoid using a stitch holder, since they are very stiff and could make knitting the body uncomfortable.
When all the stitches for the first sleeve are on hold, it’s common to cast on some stitches at the underarm using a cable cast-on (see video). If you don’t do this, the sleeve and armhole may end up too narrow and could be uncomfortable to wear.
Next, continue knitting the front stitches up to the next sleeve marker and repeat the same steps.
Finish knitting the stitches until you reach the center of the back or the BOR marker.
Tip: during this step, remove the markers, except the BOR marker, as you go.
4) Body
Here, on the one hand, you have the sleeve stitches on hold on extra cables with stoppers or waste yarn. And, on the other hand, the body stitches on the needles.
Continue knitting the body in the round until it measures the length indicated in the pattern.

5) Sleeves
After you’ve finished the body, it’s time to knit the sleeves. To do this, put all the stitches for one of the sleeves on hold onto the needles with an 80-cm cable (at least) to work using the magic loop method. If this technique is new to you, take note of the following video:
Tip: An 80-cm cable or longer makes working in magic loop more comfortable. If you prefer, you can distribute the stitches on double-pointed needles, which are perfect to knit small circumferences like sleeves.
Knit the sleeves to the length for each size down to the cuff, working the decreases indicated in the pattern.

1.2 | Step-by-step instructions to knit a top-down sweater with a round yoke
This construction is perfect to knit textured stitch patterns and lace motifs decorating the entire yoke. It’s also the perfect pattern to knit Lopapeysa-style colorwork.


In these step-by-step instructions, the only difference is the way the increases are distributed throughout the yoke. Therefore, the rest of the sweater is worked the same as before.

Increasing a round yoke
Distribute 8 increases throughout the stockinette round (the same number of increases as for the raglan), but make sure they don’t coincide. This way, we avoid creating the raglan increases and achieve the round yoke effect.

Tip: We recommend blocking this kind of garment well since, because of its construction, unlike the raglan yoke, the shoulder shape is not pronounced.

2 | Bottom-up sweater patterns
For these types of patterns, the sweater is started from the bottom, that is, from the hem up the body toward the neckline.
Body
Cast on the number of stitches indicated by the pattern, join to work in the round and knit the ribbed hem.
Sleeves
When you reach the armholes, put what you’ve knit up until now on hold and start the sleeves. Follow the pattern instructions to knit the sleeves separately, first one and then the other, or two at a time.
Tip: If you knit both sleeves at the same time, you make sure they both have the same number of rounds. In this case, we recommend working with two balls (one per sleeve) or one ball pulling from the inside and the outside. Remember to knit each sleeve with its corresponding yarn and to work the increases indicated in the pattern on both sleeves.
Joining sleeves
When you have finished knitting the sleeves, join them to the body that was on hold.

Yoke
Just like with the top-down construction, there are two types of yokes: raglan, and round, both explained above.
With the round yoke, you work evenly distributed decreases in the round, as previously explained.


For the raglan, however, the decreases are worked in the same spot on each round. This creates the characteristic raglan lines from the armholes to the neckline.


As you can see, when you start the sweater from the bottom up, at the yoke, instead of working increases, you make decreases.
With this guide, we’re sure that your next sweater knit in the round will be a hit! Do you feel ready to knit sweaters with circular knitting needles now?