If you’re looking for an easy (and free) pattern to make a cowl neck crochet sweater, look no further!
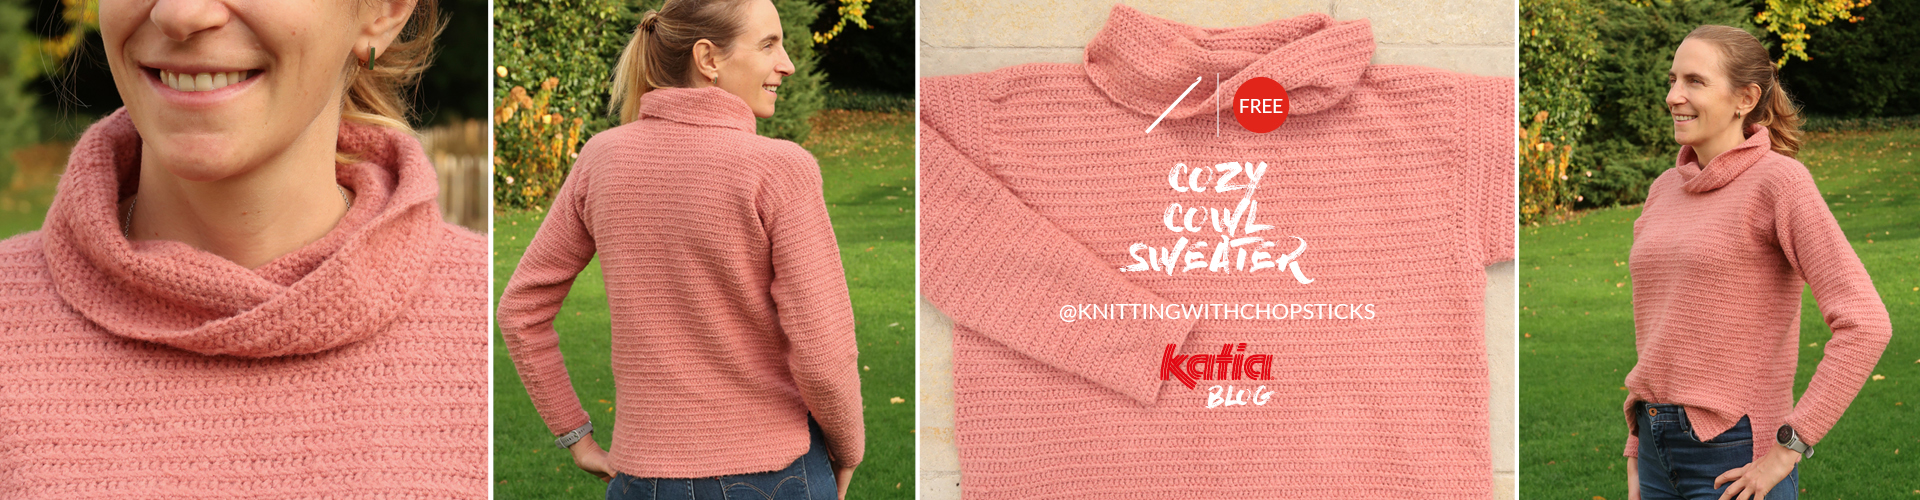
Do you want to learn how to crochet a cowl neck sweater? Take a look at this free pattern! Because the Cozy Cowl design by Knitting with Chopsticks is the perfect pattern to make a comfortable, warm, and stylish sweater. You only need six balls of Katia Snowy to complete this woman’s cowl neck crochet sweater in a size M.
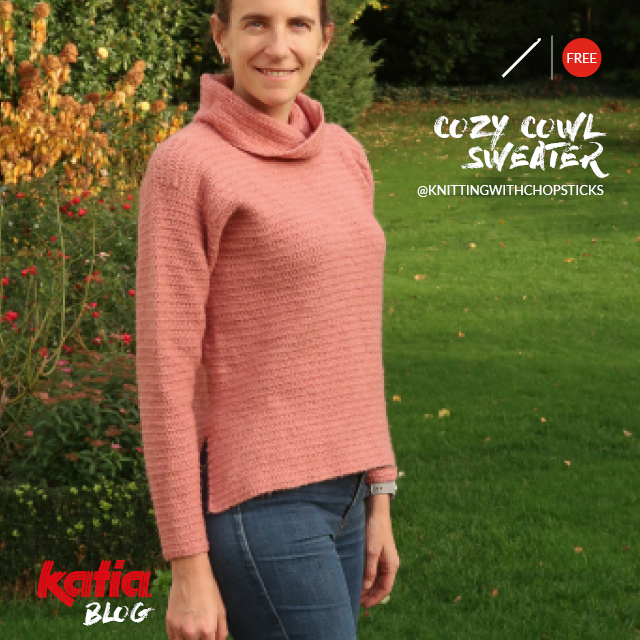
Cozy Cowl design by @knittingwithchopsticks
Knitting with Chopsticks is a blog created by Hortense, a passionate knitter and crocheter from Belgium. Her goal is to share her easy knitting and crochet patterns with beginners from around the world. Hortense is an engineer by profession and an artisan by ‘passion’, so all her patterns are extremely detailed, with comprehensive instructions and step-by-step images. See for yourself with the Cozy Cowl crochet sweater pattern that we share on the Katia blog.
Materials
- 4-mm [US G-6] crochet hook
- 6 balls of Katia Snowy in raspberry red (106)
- Tapestry needle
Sizes
This crochet sweater pattern is available in the following sizes: M, L, XL, 2XL, 3XL, 4XL, 5XL. Size M, shown in the photos, is available here and corresponds to the following measurements:
- Bust circumference 100 cm / 39.5”
- Armhole 20 cm / 7.75”
- Total length 60 cm / 23.5”
You’ll find the instructions for the rest of the sizes on the designer’s blog.
The sweater is designed with 5 to 10 cm / 2” to 4” of positive ease at the bust circumference.
To lengthen or shorten the sweater, crochet more or less rows before reaching the armholes.

10x10cm/4”x4” gauge swatch. Alternating rows of hdc and dc: 20 sts x 17 rows.
Abbreviations
Videos: click on the name of each stitch to see how to do it.
- ch – chain
- dc – double crochet
- dc2 tog/hdc2 tog – dc or hdc 2 sts together (=decrease)
- hdc – half double crochet
- inc – dc2 into the same st
- prev – previous
- R/r(s) – row(s) and round(s)
- rep – repeat
- sl st – slip stitch
- st(s) – stitch(es)
Notes
Instructions written between () indicate that this should be repeated until end of r.
The chain up stitches are not included in the stitch count, unless otherwise stated.

Cozy Cowl neck crochet sweater pattern
The Cozy Cowl neck crochet sweater consists of 4 sections that are sewn together. The front and back are shaped with decreases to form the armholes and neckline. The sleeves are fitted, and the neckline is worked in the round by picking up stitches from the top of the sweater.
Back
Using the 4-mm [US G-6] crochet hook, ch100 + ch2 up.
R1: dc1 into 3rd ch from the hook, dc to end of r, turn. [100 sts]
R2: ch1, hdc to end of r, turn.
R3: ch2, dc to end of r, turn.
Rep R2 and R3 until piece measures 40 cm/15.75”.
Armholes
R4: ch1, sl st 6, hdc to last 6 sts, turn leaving the last 6 sts free. [94 sts]
R5: ch2, dc to sl st from prev r. [88 sts]
R6: ch1, hdc to end of r, turn.
R7: ch2, dc to end of r, turn.
Rep R6 and R7 until piece measures 20 cm/7.75” from the armhole.
Cut yarn leaving a long tail.

Front
Using the 4-mm [US G-6] crochet hook, ch100 + ch2 up.
R1: dc1 into 3rd ch from the hook, dc to end of r, turn. [100 sts]
R2: ch1, hdc to end of r, turn.
R3: ch2, dc to end of r, turn.
Rep R2 and R3 until piece measures 40 cm/15.75”.
Armholes and neckline
R4: ch1, sl st 6, hdc to last 6 sts, turn leaving the last 6 sts free. [94 sts]
R5: ch2, dc to sl st from prev r. [88 sts]
R6: ch1, hdc to end of r, turn.
R7: ch2, dc to end of r, turn.
Rep R6 and R7 until piece measures 13 cm/5” from the armhole.
Work each shoulder separately.
R1: ch2, dc33, dc2 tog twice, turn. [35 sts]
R2: ch1, hdc2 tog, hdc to end of r, turn. [34 sts]
R3: ch2, dc to last 2 sts, dc2 tog, turn. [33 sts]
R4: ch1, hdc to end of r, turn.
R5-12: rep R3 and R4. [29 sts]
Cut yarn leaving a long tail.
To work the other shoulder, skip the next 14 sts and join yarn with sl st.
R1: ch2, dc2 tog twice, dc to end of r, turn. [35 sts]
R2: ch1, hdc to last 2 sts, hdc2 tog, turn. [34 sts]
R3: ch2, dc2 tog, dc to end of r, turn. [33 sts]
R4: ch1, hdc to end of r, turn.
R5-12: rep R3 and R4. [29 sts]
Cut yarn leaving a long tail.

Sleeves x2
Using the 4-mm [US G-6] crochet hook, ch36 + ch2 up.
R1: dc1 into 3rd ch from the hook, dc to end of r, turn. [36 sts]
R2: ch1, hdc to end of r, turn.
R3: ch2, inc1, dc to last st, inc1, turn. [38 sts]
R4: ch1, hdc to end of r, turn.
R5: ch2, dc to end of r, turn.
R6: ch1, hdc to end of r, turn.
Rep R3-6 until you have 78 sts.

Seaming
- Seam the front and back along the shoulders.
- Place the sleeves making sure that the middle of the sleeve matches the shoulder seam and start seaming from the center along the sides.
- Seam along the length of the sleeves, from the cuff, as well as the sides of the sweater, leaving the last 10 cm/4” at the hem unseamed.
Neckline
R1: join yarn at one of the shoulder seams with a sl st, ch2, dc76 and sl st into 2nd ch to work in the round.
Note: work 1 st into each st and 1 st into each r.
Work in the round closing each r with a sl st and turn the work.
R2: ch1, hdc to end of r.
R3: ch2, dc to end of r.
Rep R2 and R3.
Rep R2 once more.
Increase: ch2, (dc1, inc1) to end of r. [114 sts]
Rep R2 and R3 eight times.
Rep R2 once more.
Cut yarn leaving a long tail.

Blocking
After completing the pattern, block the garment to even out the stitches. Don’t skip this step, blocking makes all the difference. Take a look at this post by Knitting with Chopsticks to learn more about how to block your Cozy Cowl sweater.
Share on social media
If you make this cowl neck crochet sweater, please tag #knittingwithchopsticks and #katiayarns. We love seeing and sharing your creations made following tutorials published on the Katia blog!

Any questions? If you have any comments, questions, or problems with the pattern, write to hortense@knittingwithchopsticks.com. Hortense will be happy to help you!
Copyright. Please respect the following request from the designer: “Please do not share, sell, or claim my patterns as your own. You can make finished objects to sell (i.e., on Etsy, at craft fairs) from my patterns, as long as you link to my blog knittingwithchopsticks.com and credit me as the author of the pattern.”